A practical guide to evaluating dimmable ceiling lights at the levels where they will actually be used, from bright...
- There are no more items in your cart
- Shipping
- Total $0.00
A Stairwell in Section: Choosing Pendant Scale, Position and Light
Read the stairwell as a section
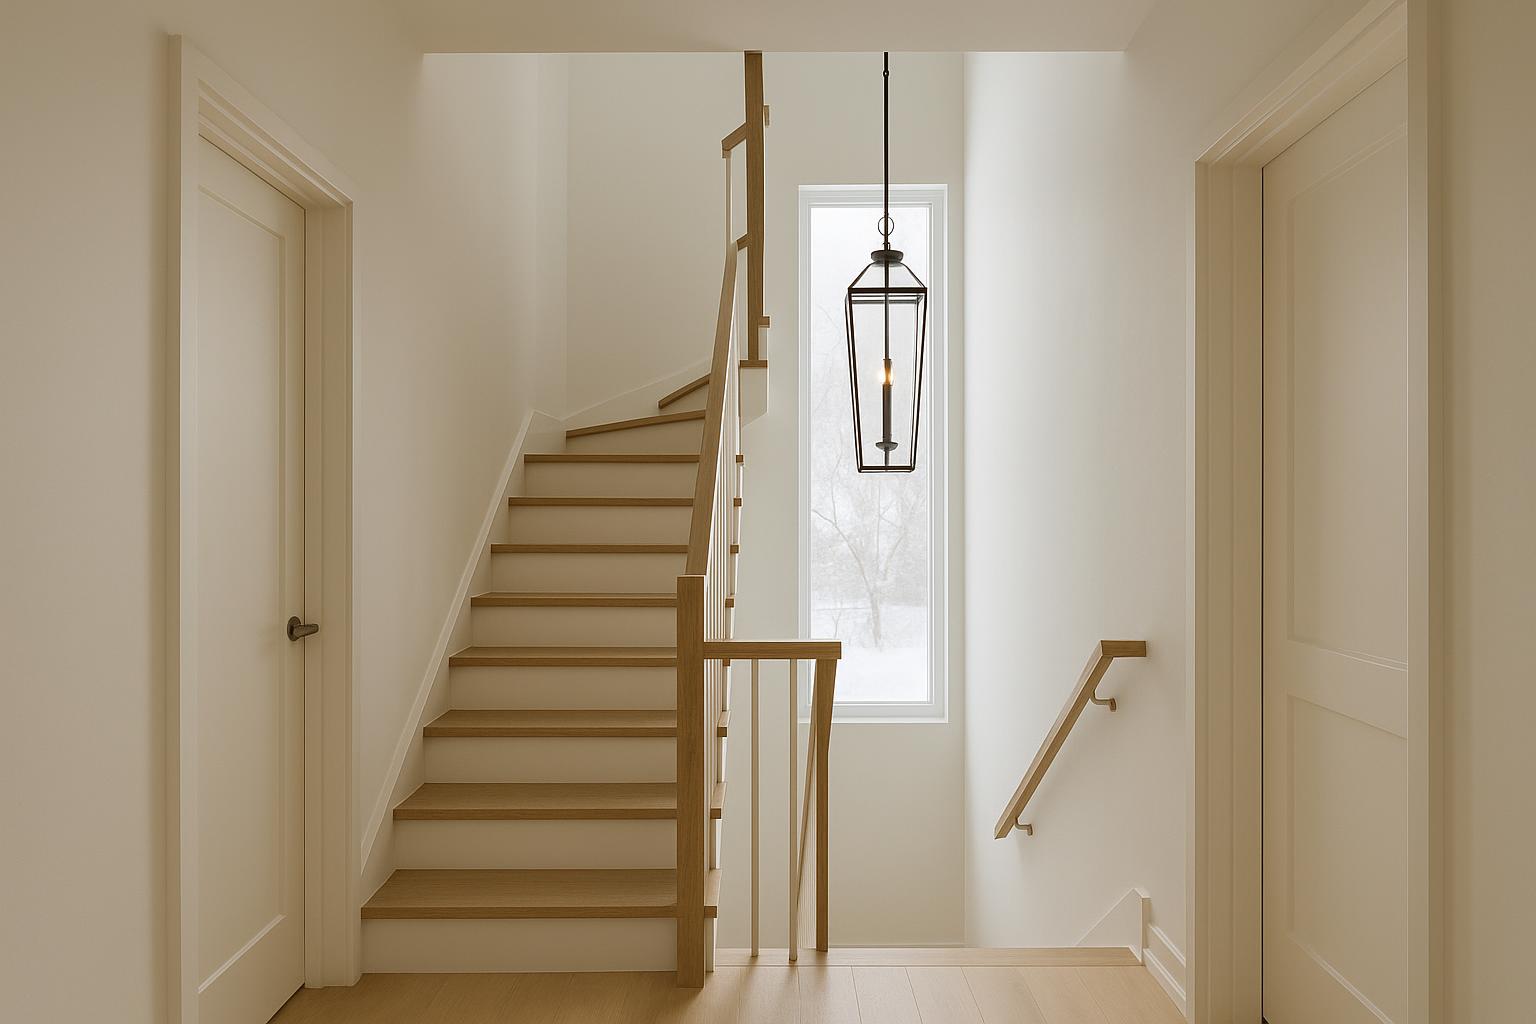
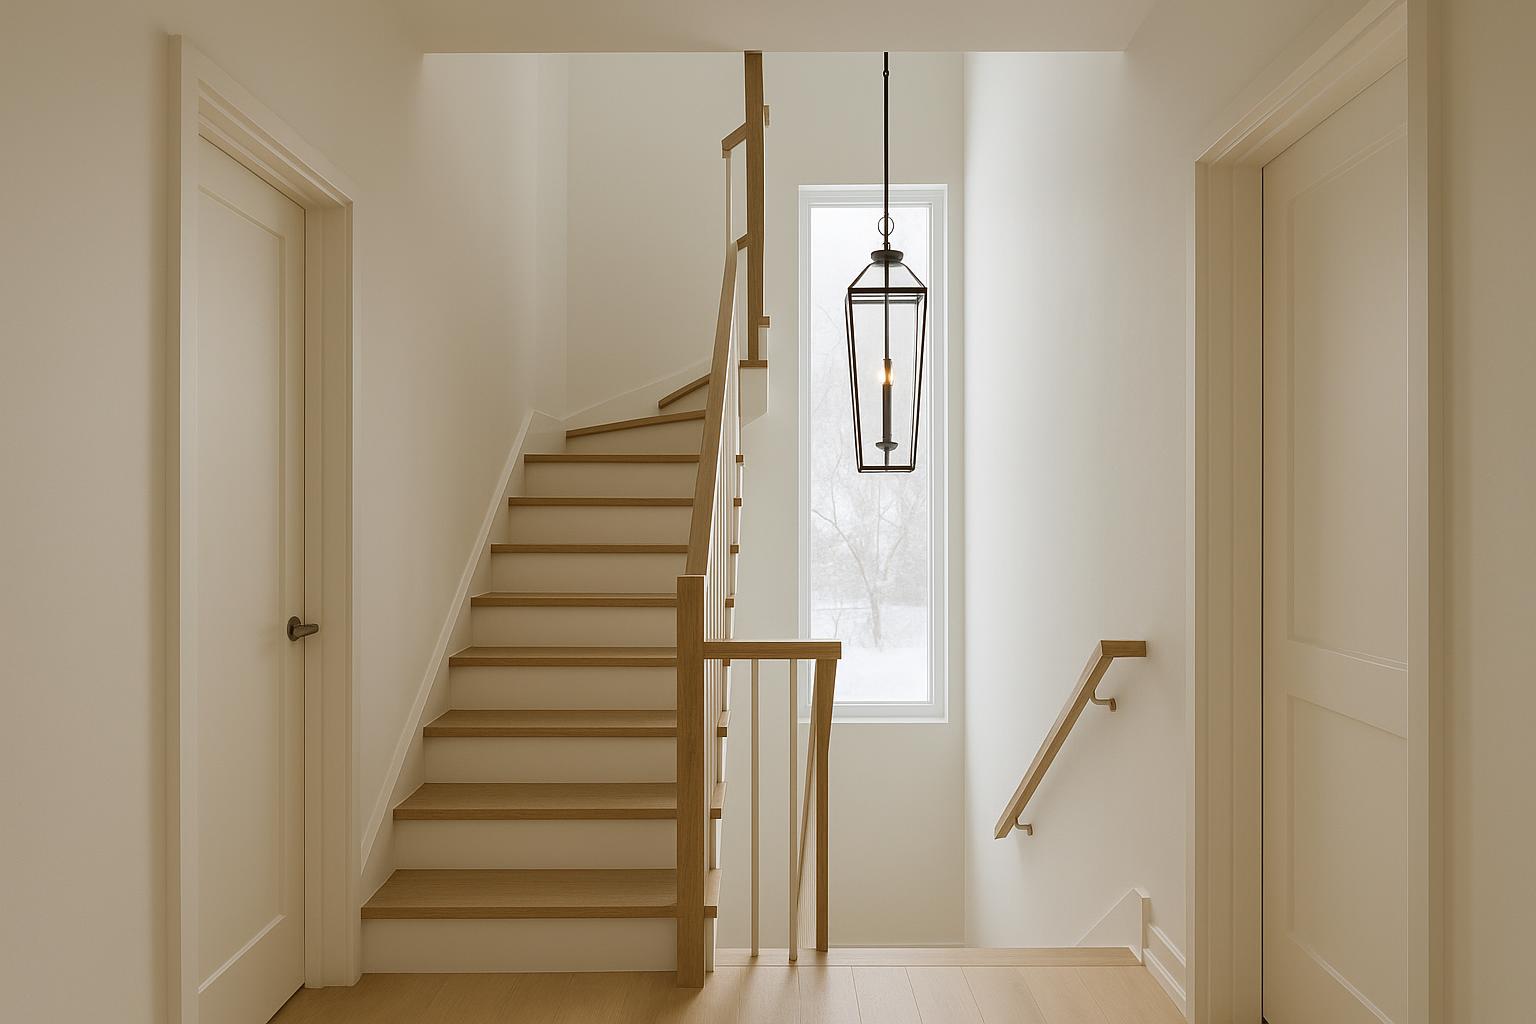
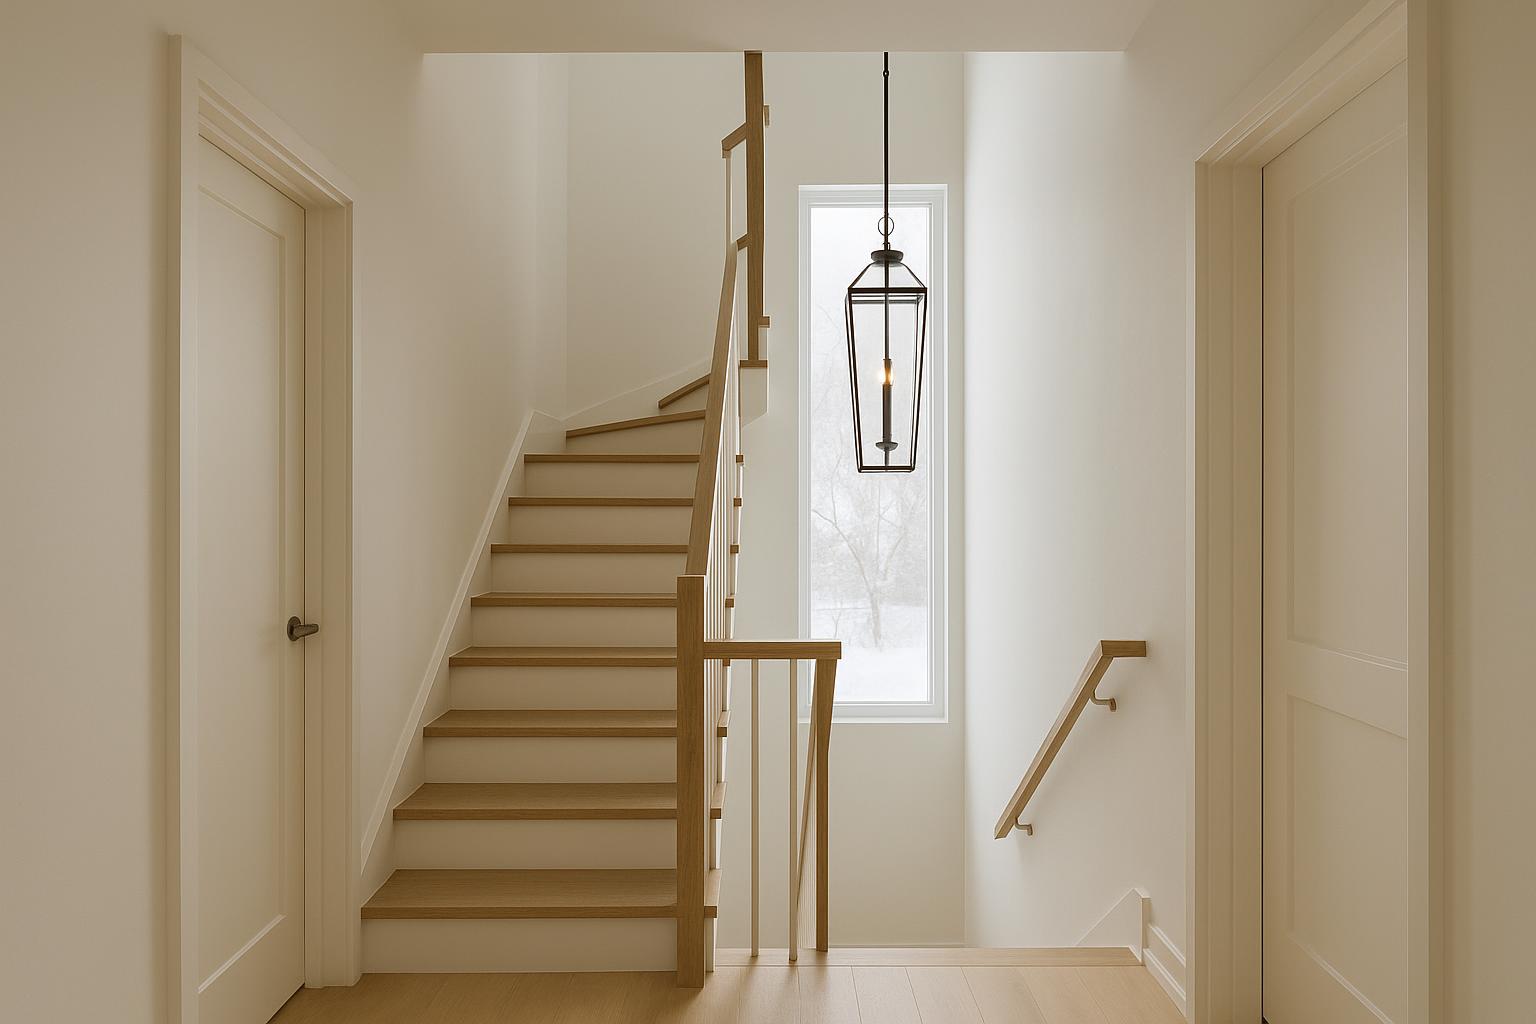
A pendant over a dining table has a clear reference point. A staircase pendant does not. It may be viewed from the foyer, through a family room, across an upper landing and from directly below as someone climbs. The ceiling can be several metres above the lowest floor while the nearest tread sits much closer to the fixture.

For that reason, staircase pendant lights should be planned against the full vertical space. The important shape is not simply the stair width. It is the open volume bounded by the walls, landings, railings, ceiling and route of travel. A fitting that fills this volume comfortably will usually look more convincing than one selected from a room-size formula.
Sketch the stairwell from the side, even if the drawing is not to scale. Mark the flights, landing edges, ceiling box, balustrades and adjacent doorways. This sectional view makes conflicts easier to spot, particularly in a townhouse with stacked floors or a cottage with a sloped ceiling.
Measure the usable fixture envelope
Begin with fixed measurements rather than a preferred fixture. Record the ceiling height at the mounting point, the width and length of the open void, and the distance from the mounting point to the closest relevant tread or landing. On a turning staircase, that closest point may be on the upper flight rather than directly beneath the ceiling box.
It helps to define an imaginary envelope within which the entire fitting must sit. Include the canopy, suspension, shades, arms and decorative drops, not only the dimensions of the illuminated body. Product photographs can understate the reach of a wide chandelier or the total length of a cluster.
- Enclosed stair: allow generous space between the fixture and nearby walls or railings so the outline does not look trapped.
- Two-storey void: assess both diameter and vertical length. A short fixture can appear detached from the lower floor.
- Broad foyer: width may provide more presence than an extremely long drop.
- Vaulted ceiling: confirm whether the canopy and suspension system suit the ceiling angle.
Do not assume that a listed maximum drop is usable in your home. The final position must preserve safe movement on every tread and provide room for carried items such as laundry baskets or furniture. A qualified electrician can help confirm an appropriate mounting position and any applicable clearance requirements.
Check every view before setting the drop
The most useful viewpoints are rarely directly under the electrical box. Stand at the entrance to the stairwell, on each landing and in any adjoining room with an open view. Note where the fixture first appears, whether it overlaps a railing, and whether its lowest point seems to hang into the walking route.
Eye-level glare deserves particular attention at upper floors. A clear-glass pendant with an exposed lamp may look warm from the foyer but harsh when seen straight across a landing. Opal glass, a fabric or metal shade, or a shielded light source can produce a calmer result. Changing the drop slightly may also move the brightest part of the fitting above or below a common sightline.
To complement this topic, you can also read Pendant Lights: Your Ceiling's Favorite Accessory!.
A temporary mock-up is more informative than guessing from a catalogue image. Use a lightweight paper or cardboard outline to represent the fixture's width and length, placing it only where it cannot interfere with the stairs. Photographs from each floor will show whether it feels centred in the visible void. The visual centre may differ from the geometric centre when a landing projects into the space or the stair turns around an offset opening.
Match the arrangement to the architecture
A single elongated pendant gives a narrow stairwell one clear vertical line. It works particularly well where horizontal landings and slim railings already create several competing lines. A controlled cylinder, globe stack or narrow lantern can have presence without projecting towards the balustrade.
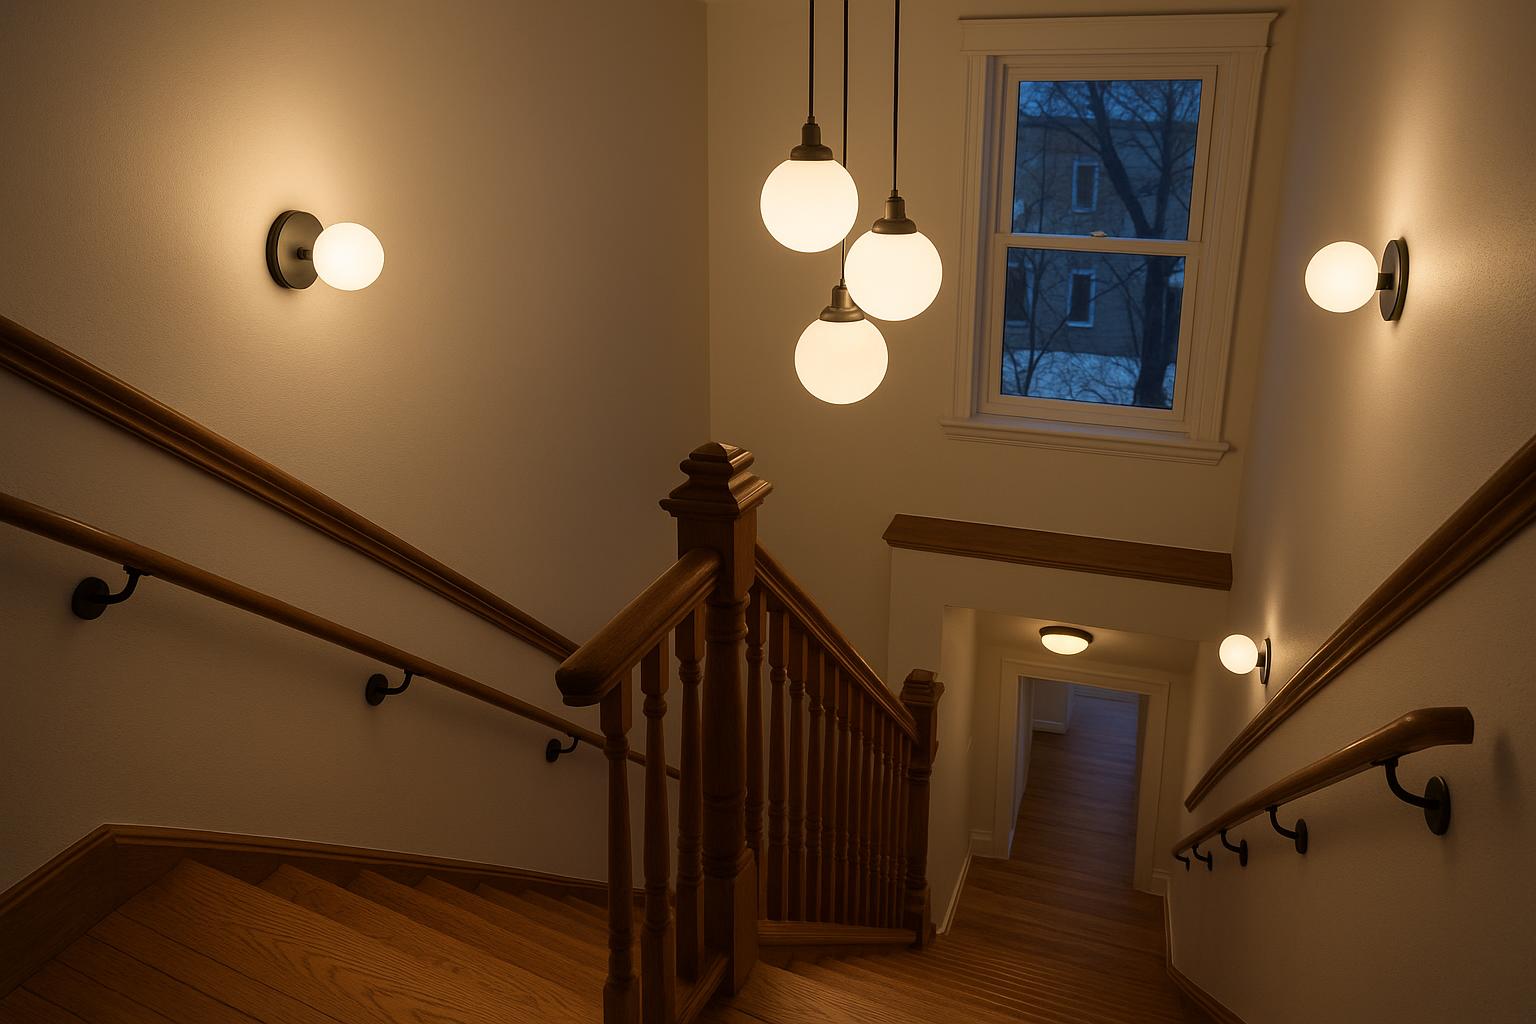
Clusters suit taller openings because individual pendants can occupy more than one level. Their spacing should relate to the shape of the void rather than imitate the rise of every tread. In a busy stairwell with artwork, window frames and visible balusters, fewer drops often create a cleaner composition.

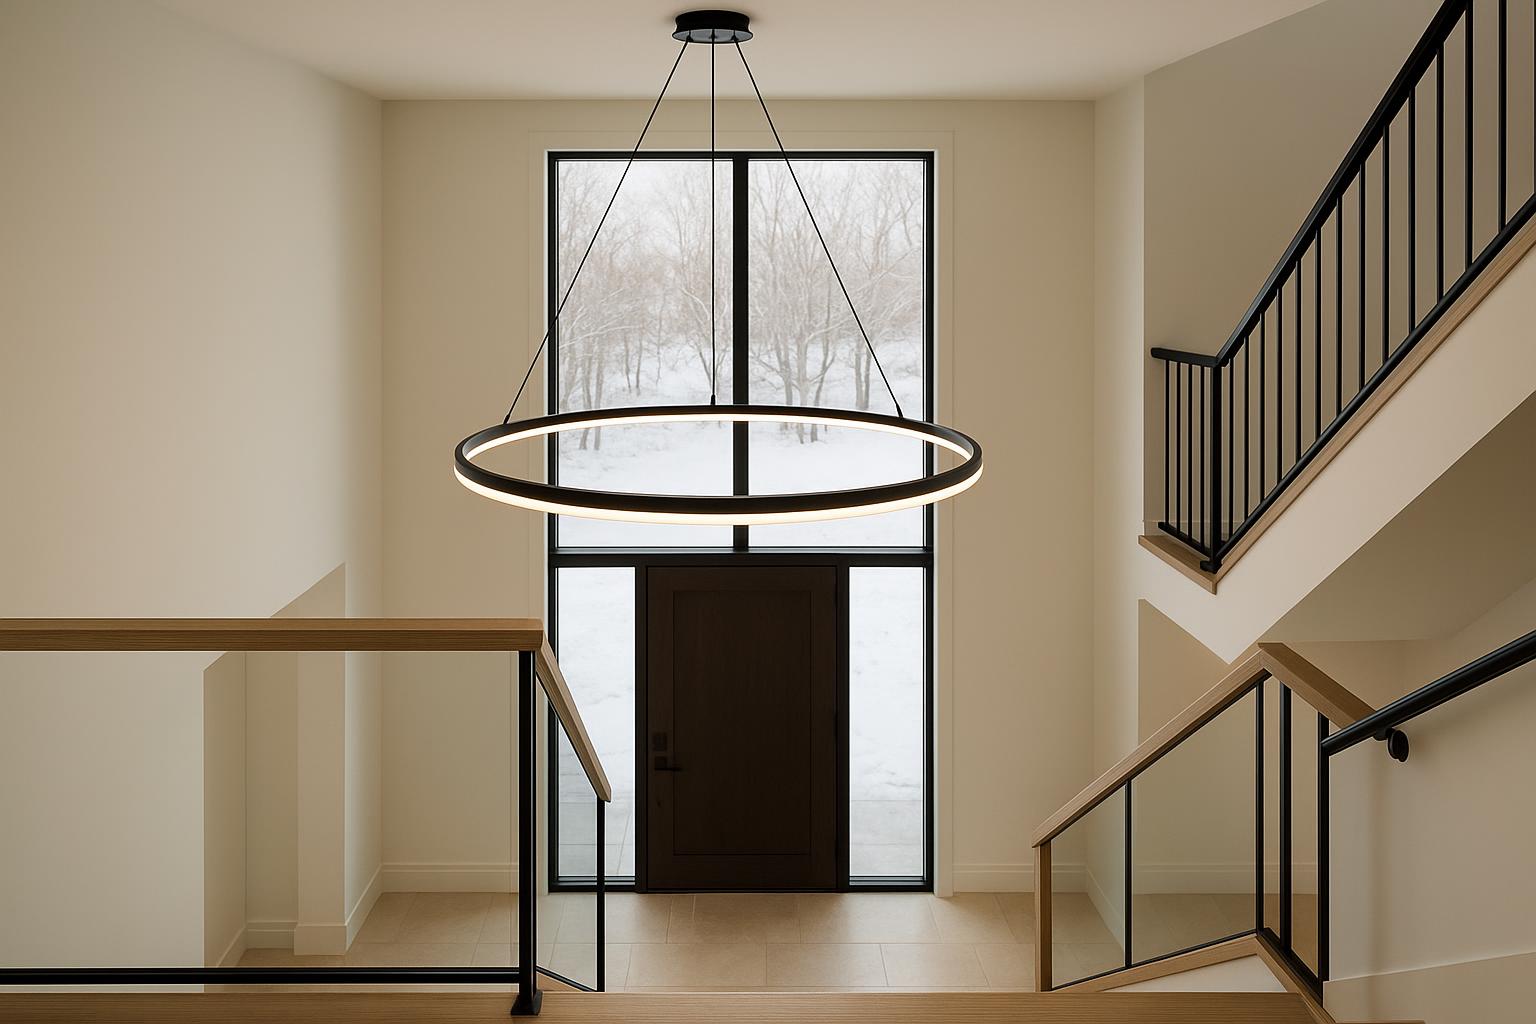
Stairwell chandeliers are most effective where their complete outline can be seen. A broad ring, tiered frame or branching form may suit a double-height foyer, while the same fixture could overwhelm a compact new-build staircase. Check the width at every level because arms that clear the lower flight may come uncomfortably close to an upper railing.
The mounting point also affects the choice. An off-centre box does not always need to be moved if the fixture has an adaptable canopy or swag arrangement approved for that product. Such changes should never be assumed from an image; review the installation instructions with the electrician before ordering.
Build a practical lighting layer
A decorative pendant can establish the mood without providing all the light needed on the stairs. Landings, turns and areas beneath an upper flight may remain dim even when the centre of the void is bright. Effective staircase lighting brings useful illumination closer to these surfaces.

Landing lights can connect the stairwell to adjoining hallways. Stair wall sconces can brighten the path and reveal changes in direction, while a compact flush mount or pot light may be more effective beneath a low landing. The aim is not to flood every surface equally. It is to avoid abrupt dark patches and make tread edges, handrails and transitions easy to read.
Relate the fixtures through one detail rather than buying a matching set. A repeated black finish, rounded glass shape or warm metal accent is usually enough. This keeps the pendant visually important while allowing the supporting lights to suit their locations.
Separate switching is worth discussing during planning. The pendant may be used as a soft evening feature, while the wall or landing lights provide brighter practical illumination. Compatible dimming can be valuable during long winter evenings, but the dimmer, lamps, driver and fixture must be designed to work together.
Review finishes, lamps and controls
View finish samples in both daylight and artificial light. Clear glass can nearly disappear beside a tall window during the day, then become visually prominent after dark. Frosted or opal glass reads as a more solid shape but reduces the direct view of the light source. Dark metal creates a crisp outline against pale walls, while warm metallic finishes can soften a grey entry.
Snow reflection can make a windowed foyer much brighter than expected on winter days. Highly polished metal and clear glass will pick up these highlights, whereas an enclosed stairwell may benefit from a little reflection. Consider nearby mirrors, glossy railings and large windows when deciding how much sparkle is appropriate.
Check whether the fixture uses replaceable lamps or an integrated light source, and whether its output and colour appearance will coordinate with the supporting lights. Small differences become obvious when a pendant and wall sconces are visible together. Product specifications should also confirm dimming compatibility rather than leaving it to assumption.
Plan access before placing an order
Installation is only the first time someone will need to reach the fitting. Glass may need cleaning, lamps may need changing and suspension components may require inspection. In a three-storey stairwell, safe access can be difficult because a standard ladder cannot always stand securely on the treads.
Before choosing the final model, review its weight, canopy dimensions, suspension range, ceiling support requirements and method of lamp or shade removal. Share the stairwell sketch, measurements and photographs with the installer. Electrical work and mounting should be completed by a qualified electrician familiar with provincial and local requirements.
Once the available envelope, sightlines and maintenance plan are settled, compare staircase lighting options for the space. Check each product's stated dimensions against your measurements rather than relying on the apparent scale of a room photograph. The best choice will hold its place in the vertical volume without obstructing movement or forcing one decorative fixture to do every lighting job.