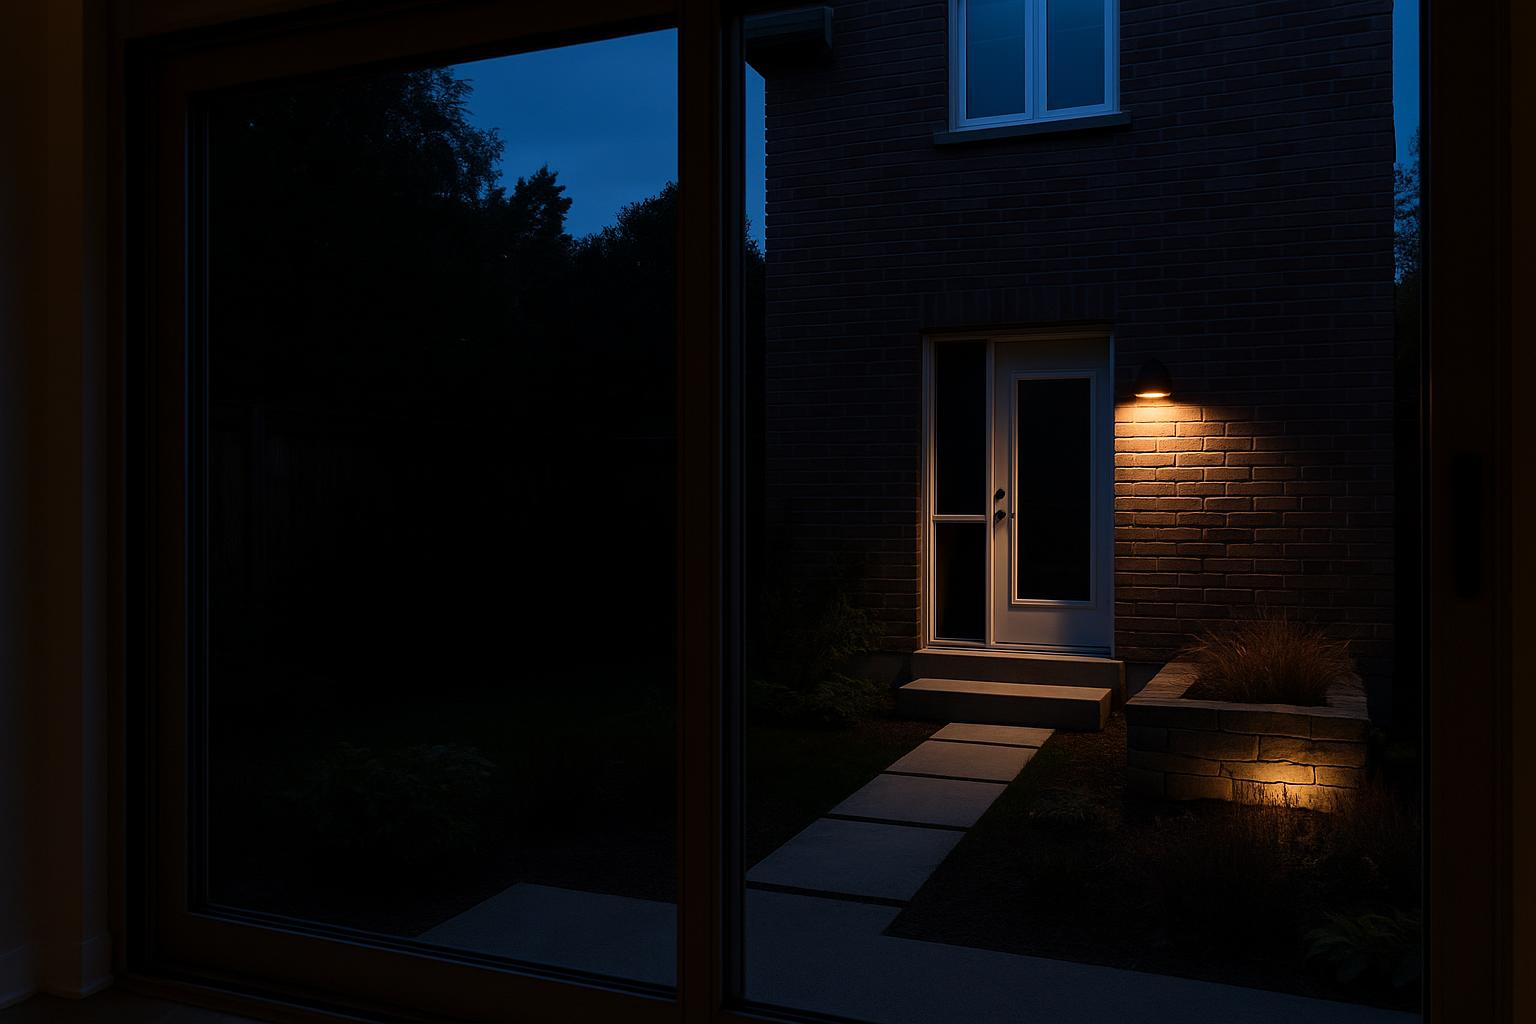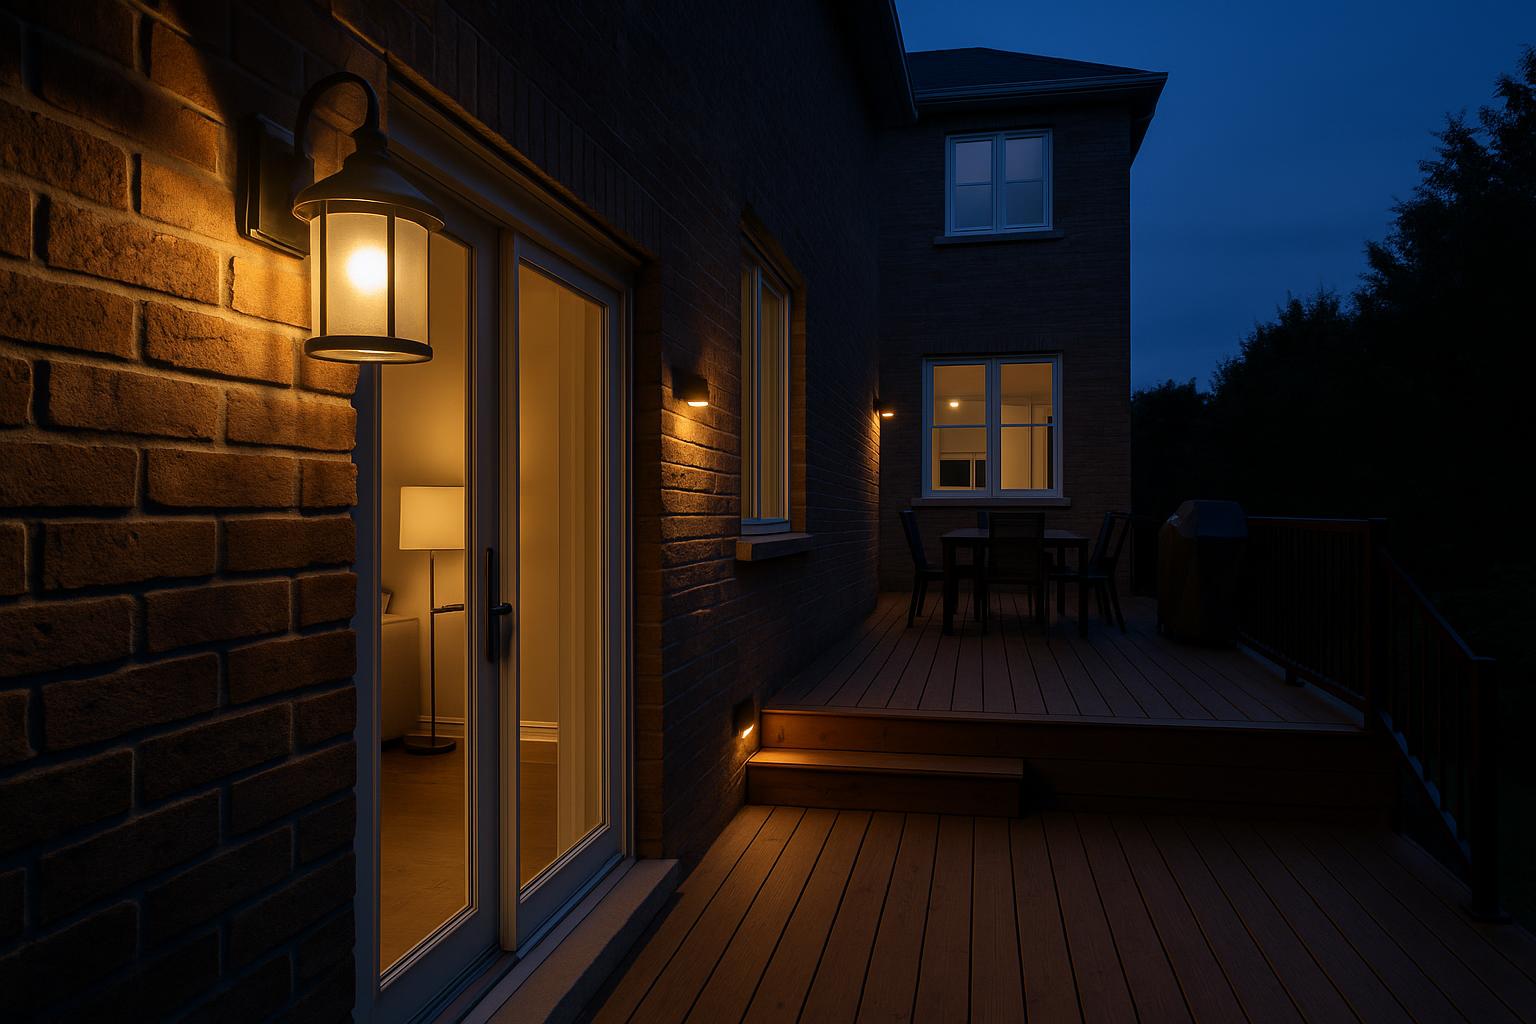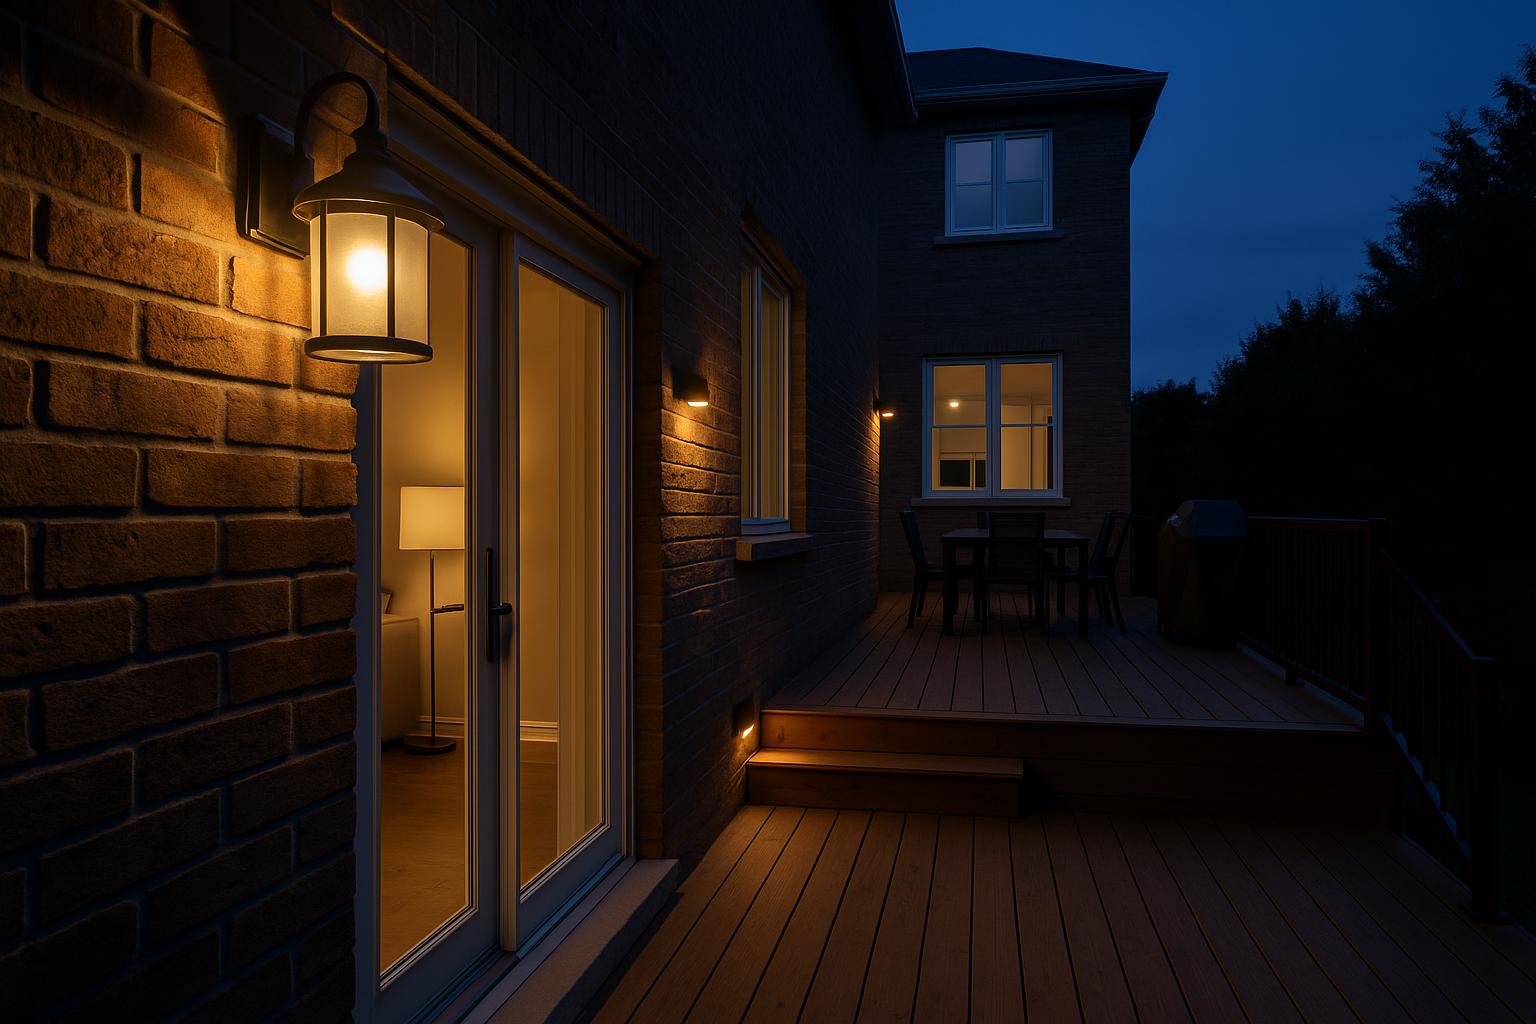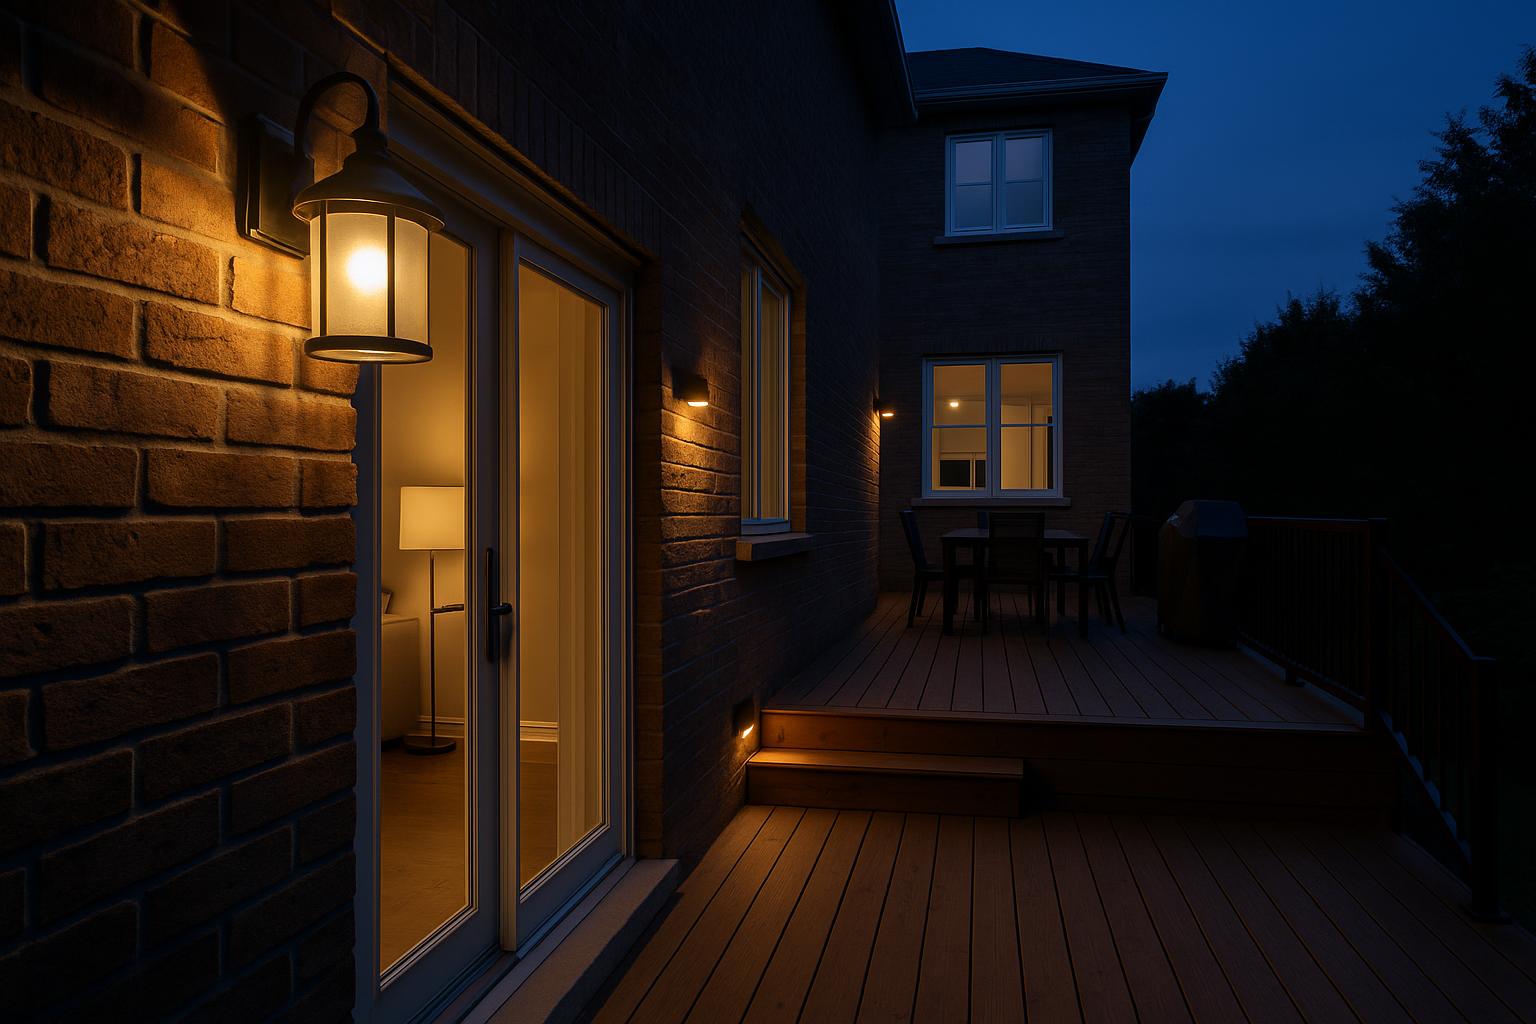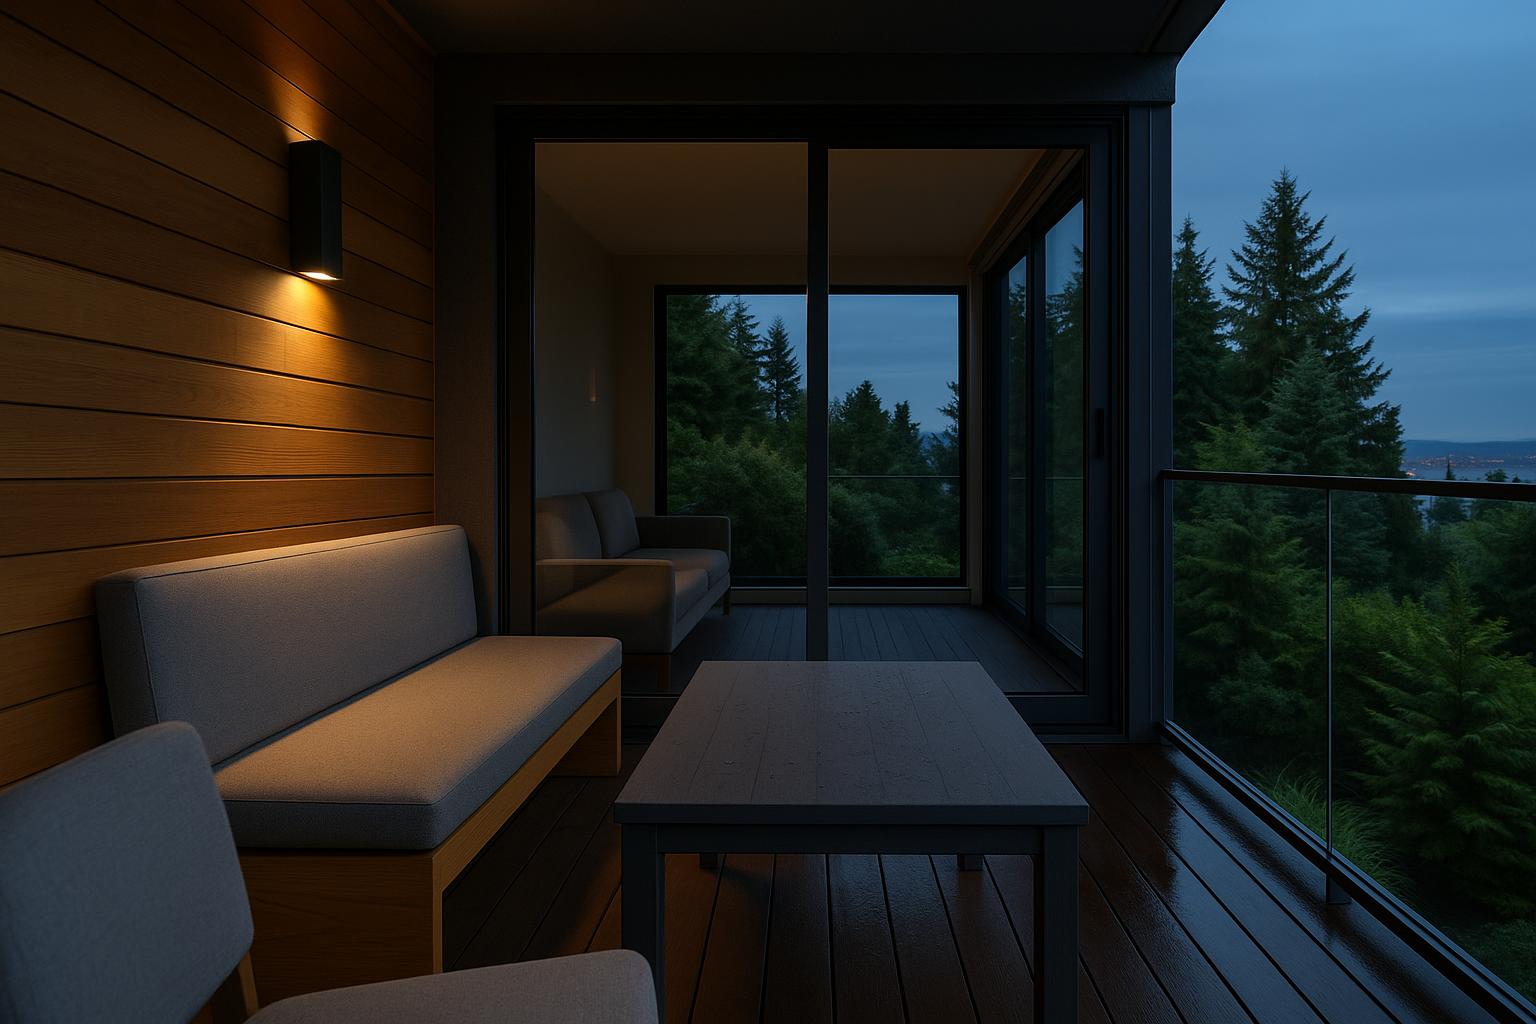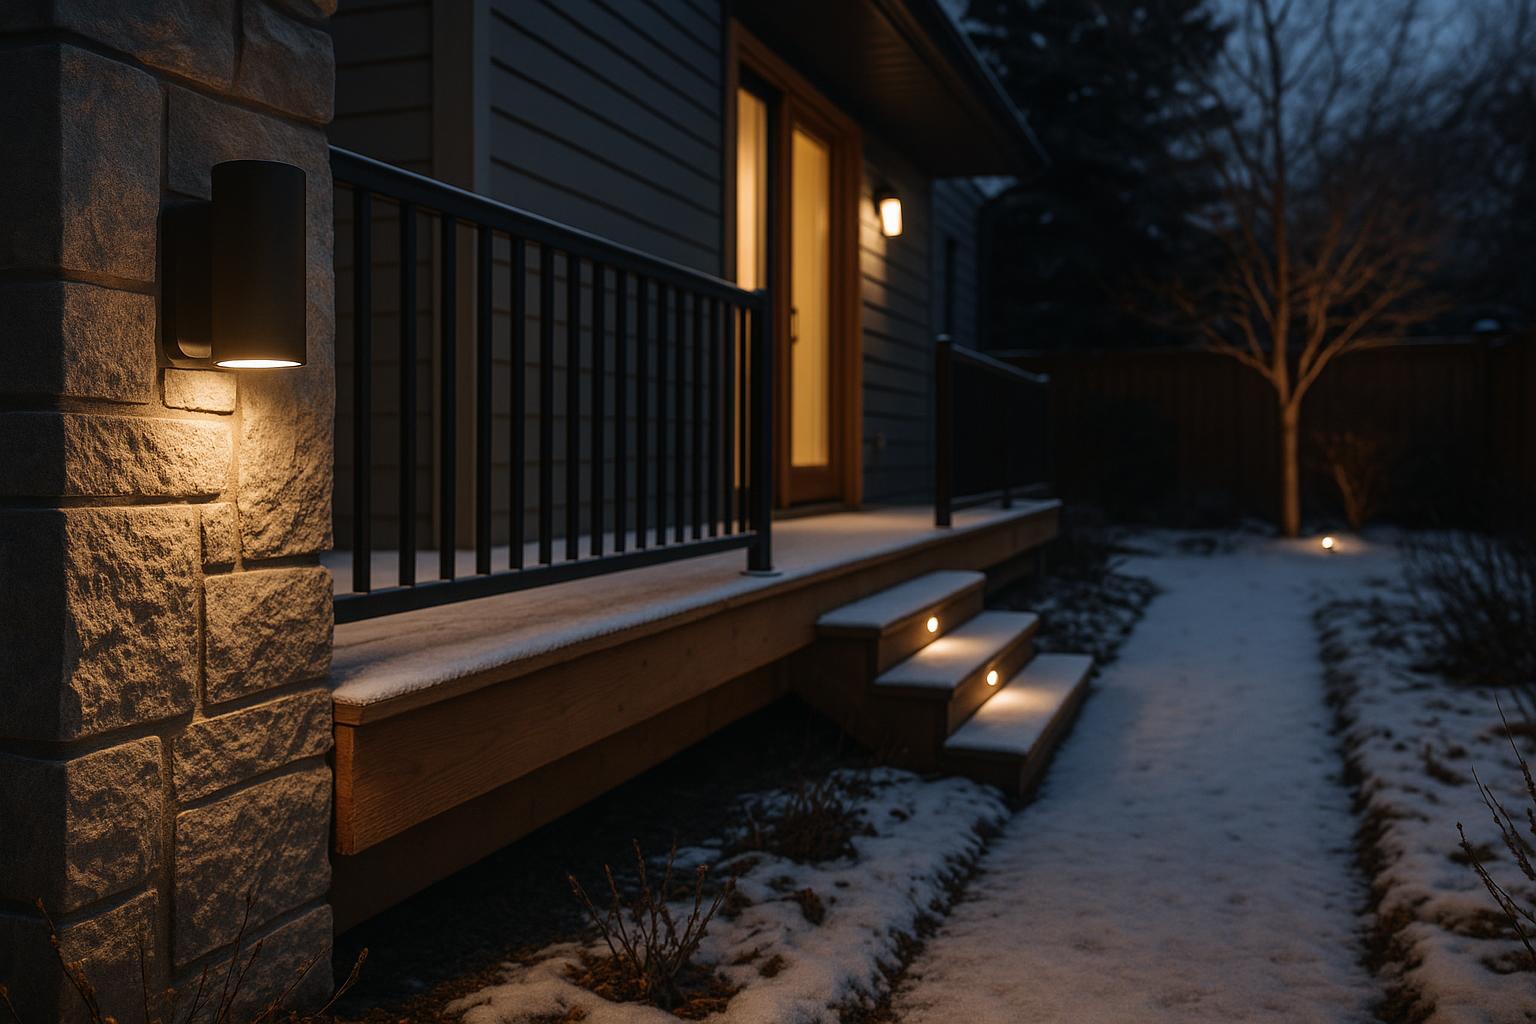
Walk through the deck as it is used after dark, then assign each wall light a clear job at the door, steps, cooking...
- There are no more items in your cart
- Shipping
- Total $0.00
The After-Dark Walk-Through: Placing Deck Wall Lights with Purpose
Deck lighting is often planned from the elevation: one fixture beside the door, another placed to balance it, and perhaps a third centred on the wall. That arrangement may look orderly on a drawing but still leave a stair edge difficult to read or put a bright lamp directly in a diner’s line of sight.
A better test begins after sunset. Follow the route from the house to the table, grill, seating and yard, noting where light is useful and where darkness adds comfort. Garden wall lights can then be chosen for specific tasks rather than expected to illuminate the entire deck.
Walk the deck after sunset
Start with the existing outdoor lights turned on as they are normally used. Walk through the door carrying something, move a chair, approach the steps and look back toward the house. The exercise often reveals problems that are easy to miss in daylight: a door light blocked by its own swing, a dark change in level or a bright source reflected in patio glass.

Make notes on a simple plan rather than relying on memory. Mark the door handle, grill controls, table edge, stair landing and any narrow route between furniture and railing. A phone photograph of the unlit deck can also help identify where the building provides a practical mounting surface.
Do not assume every dim area needs its own fixture. Some shadows are harmless and give the yard depth. Concentrate first on places where people enter, change direction, handle food or step between levels.
Record the jobs that need light
Divide the deck according to use, but keep the categories tied to actual actions. A small townhouse deck may combine arrival, dining and circulation within a few metres. A bungalow deck might have a cooking area near the house and a lounge beyond the reach of wall-mounted light.
- Door and landing: make the handle, lock, threshold and immediate floor area easy to see.
- Steps and routes: reveal changes in level without aiming a harsh beam along the line of travel.
- Cooking and serving: direct useful light toward controls and work surfaces while accounting for the cook’s shadow.
- Dining and conversation: provide gentle surrounding light without placing an exposed lamp in front of seated guests.
- Garden connection: lead the eye toward the next step, path or selected planting rather than lighting every boundary.
A wall fixture may support more than one nearby activity, but it should have one main purpose. That decision makes it easier to compare beam patterns and output later.
Test seated views and reflections
The most revealing deck-lighting view is often from a chair. Sit in each regular position and look toward the proposed mounting points. A source that appears modest while standing can become uncomfortable when it is close to eye level or visible through clear glass.
Fixed benches against the house require particular care because occupants cannot shift far from the fixture. Dining chairs facing the wall can present the same problem. Shielded, diffused or downward-directed exterior wall lights may be more comfortable, but the result depends on the fixture’s construction and its position relative to the seat.
To complement this topic, you can also read The Useful Dimming Range: Choosing Ceiling Lights for Canadian Homes.
Check the view from indoors as well. Large patio doors can mirror bright fittings and obscure the garden beyond. In winter, snow on the deck or yard may reflect more light toward the glass. The deck may be used less frequently then, but its fixtures can remain visible from the family room for many hours.
Give each wall fixture one clear purpose
Once the useful locations are marked, check whether the wall can actually accommodate a fixture. Door trim, downspouts, vents, railings, electrical boxes and retractable awnings all compete for space. On a narrow condo balcony or townhouse deck, projection is especially important.

A cardboard profile cut to the fixture’s published height, width and depth provides a useful scale check. Tape it to the proposed position without covering or interfering with electrical equipment. Open the door fully, move nearby chairs and view the mock-up from the yard. This simple step can expose a fixture that is too deep for the route or visually undersized for a broad wall.
Symmetry is worthwhile only when it supports the plan. Two matching patio wall lights may suit a formal rear elevation, but not if one is hidden behind an open door or shines over an unused corner. A slightly asymmetrical arrangement that illuminates the landing and serving area can be more convincing after dark.
Select beam distribution before style
When comparing garden wall lights for deck use, begin with where the light goes. A compact downlight can define a threshold or narrow passage without adding much general illumination. An up-and-down fixture may emphasize brick, stone or vertical siding, although its lower beam may cover only a small patch of deck. A lantern can spread light more broadly, but clear glazing and an exposed lamp require careful glare checks near seating.
Look at the manufacturer’s dimensions, light direction and published lighting information rather than judging from a styled photograph alone. Integrated LED fixtures also require a check of control compatibility. For replaceable-lamp designs, use only the lamp types and limits specified by the manufacturer.
In the same direction, Modern Wall Lighting, Planned from the Wall Out offers useful ideas for choosing home lighting more confidently.
Finish comes after these practical decisions. Dark grey or black can recede against evening shadow, while brass tones or lighter finishes may remain more noticeable against cedar, brick or pale siding. Neither approach is automatically better; scale, material and architectural detail determine whether the fixture feels settled on the wall.
Carry light beyond the railing
A brightly lit deck surrounded by an unbroken dark yard can feel isolated. Where the deck leads to steps, a path or a side passage, use a second lighting layer to continue the route. Low-level step or landscape lighting can take over where the house wall no longer reaches.
Outdoor garden lighting can also reveal one useful point in the middle distance, such as a small tree, a stone wall or the start of a path. There is no need to illuminate the full fence line. Leaving some planting and boundaries dark reduces visual clutter, preserves depth and can limit reflections in patio doors.
Keep adjacent layers reasonably consistent in perceived brightness and light colour. The fixtures do not have to match, but one glaring source can make every subtler layer seem ineffective.
Plan controls and weather exposure
The doorway and social area do not always need to operate together. If the electrical plan permits separate control, practical entry lighting can remain available while the dining or lounge layer is reduced. Dimming may help a deck adapt from cooking to conversation, provided the fixture, light source and control are compatible.
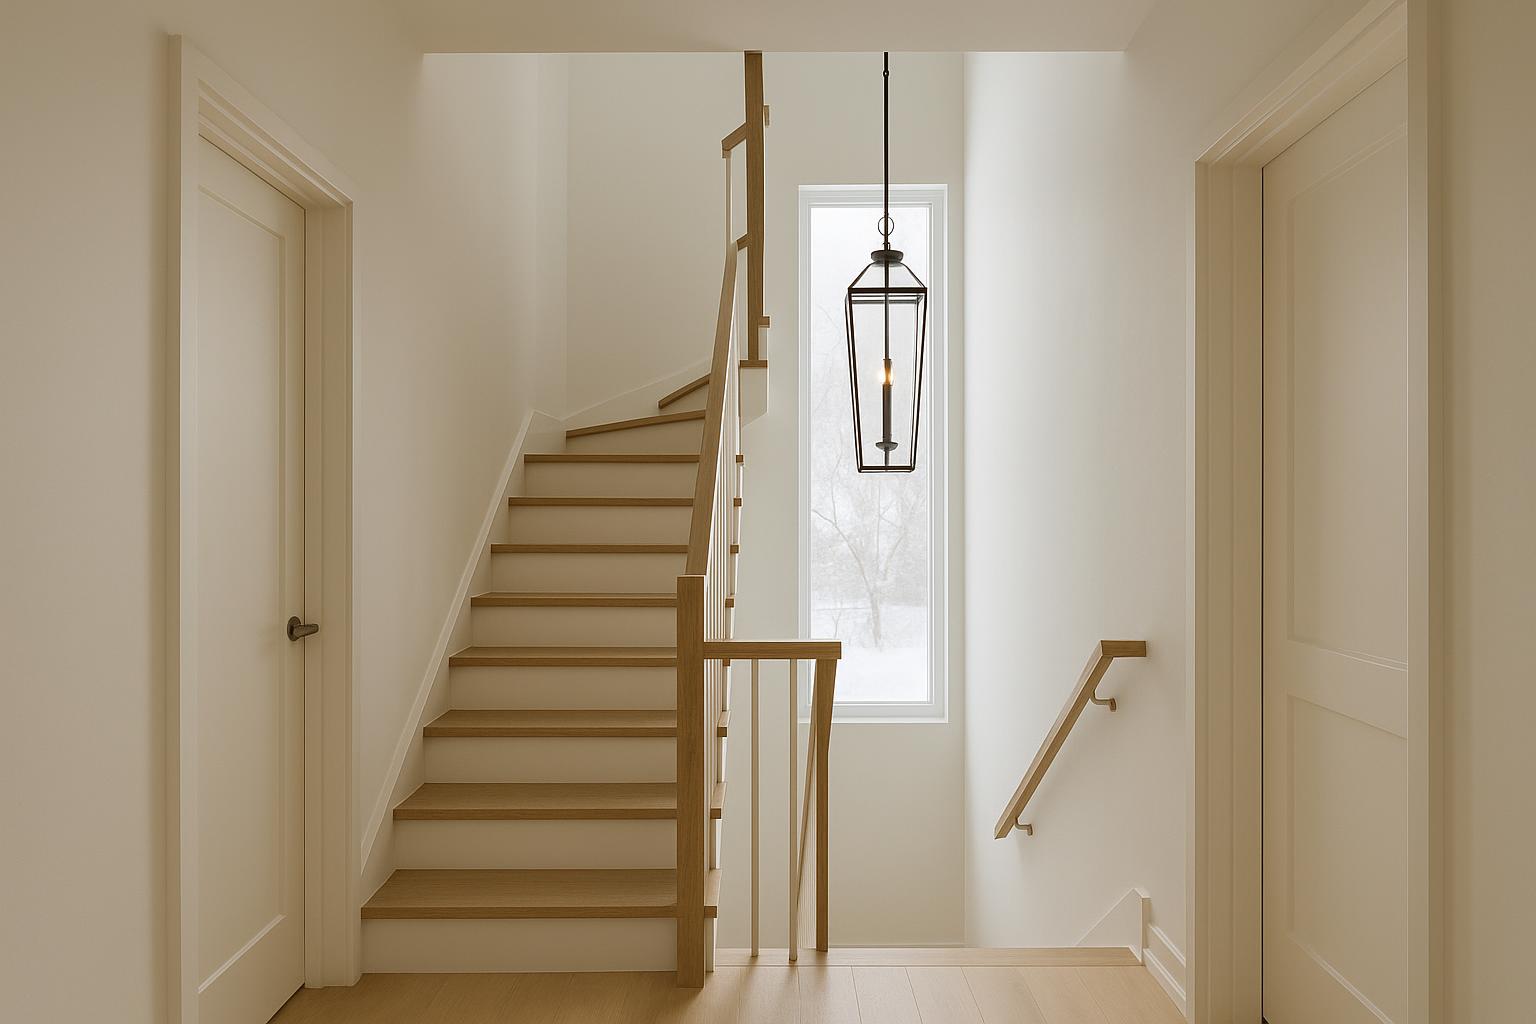
For more consistent lighting throughout the home, the article A Stairwell in Section: Choosing Pendant Scale, Position and Light may also be helpful.
Timers, photocontrols and other automatic options can support regular routines, but manual control remains useful when entertaining or viewing the deck from indoors. Decide on the control method before ordering integrated fixtures so compatibility is not left to chance.
Exposure also needs a location-specific check. A wall beneath a deep roof, a covered deck and an open rear elevation face different amounts of wind-driven rain, drifting snow and freeze-thaw weather. Shallow eaves do not necessarily keep a fixture dry. Confirm that the selected product is intended for the proposed outdoor mounting condition and follow its installation instructions.
Existing box position, wall construction and local electrical requirements can affect what is feasible. Exterior electrical work should be assessed and completed by a qualified electrician familiar with the applicable provincial and local requirements.
Complete a final pre-order check
Before purchasing, return to the deck plan and confirm the fixture’s main job, dimensions, projection, beam direction, light-source requirements, control compatibility and intended exposure. Check the door swing and furniture layout one last time. If the deck is covered seasonally, include the cover and its supports in the clearance review.

With those decisions recorded, browse garden wall lights by the work each location must perform. A well-shielded fixture beside the right door or step will usually be more useful than a brighter decorative fitting placed only to balance the elevation.