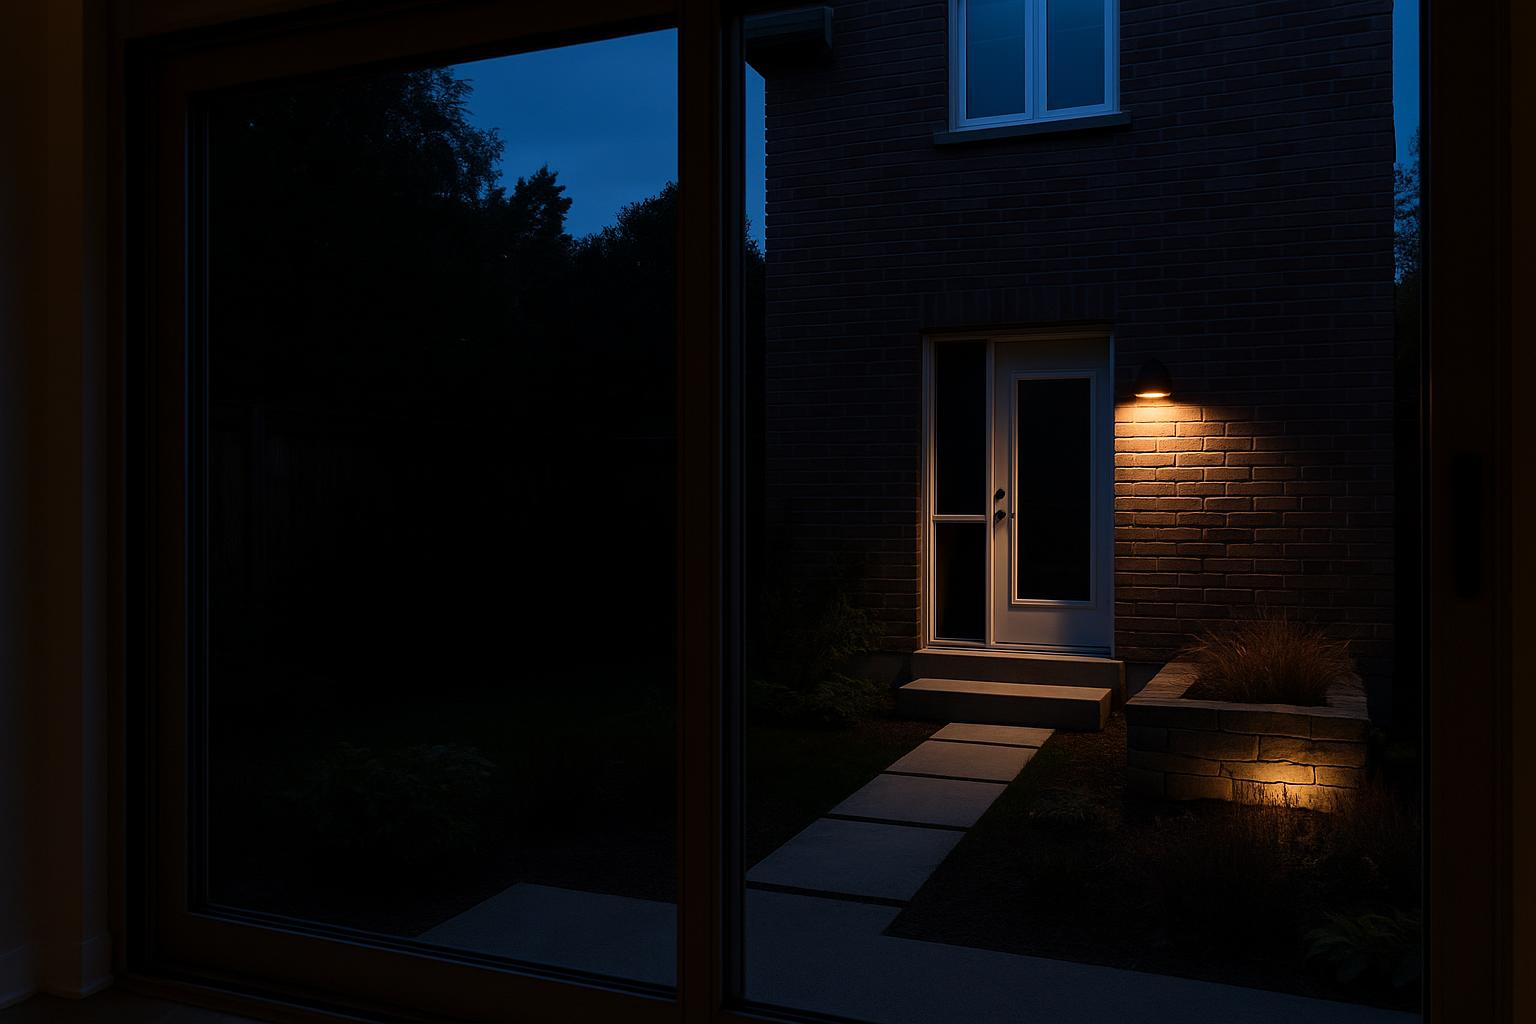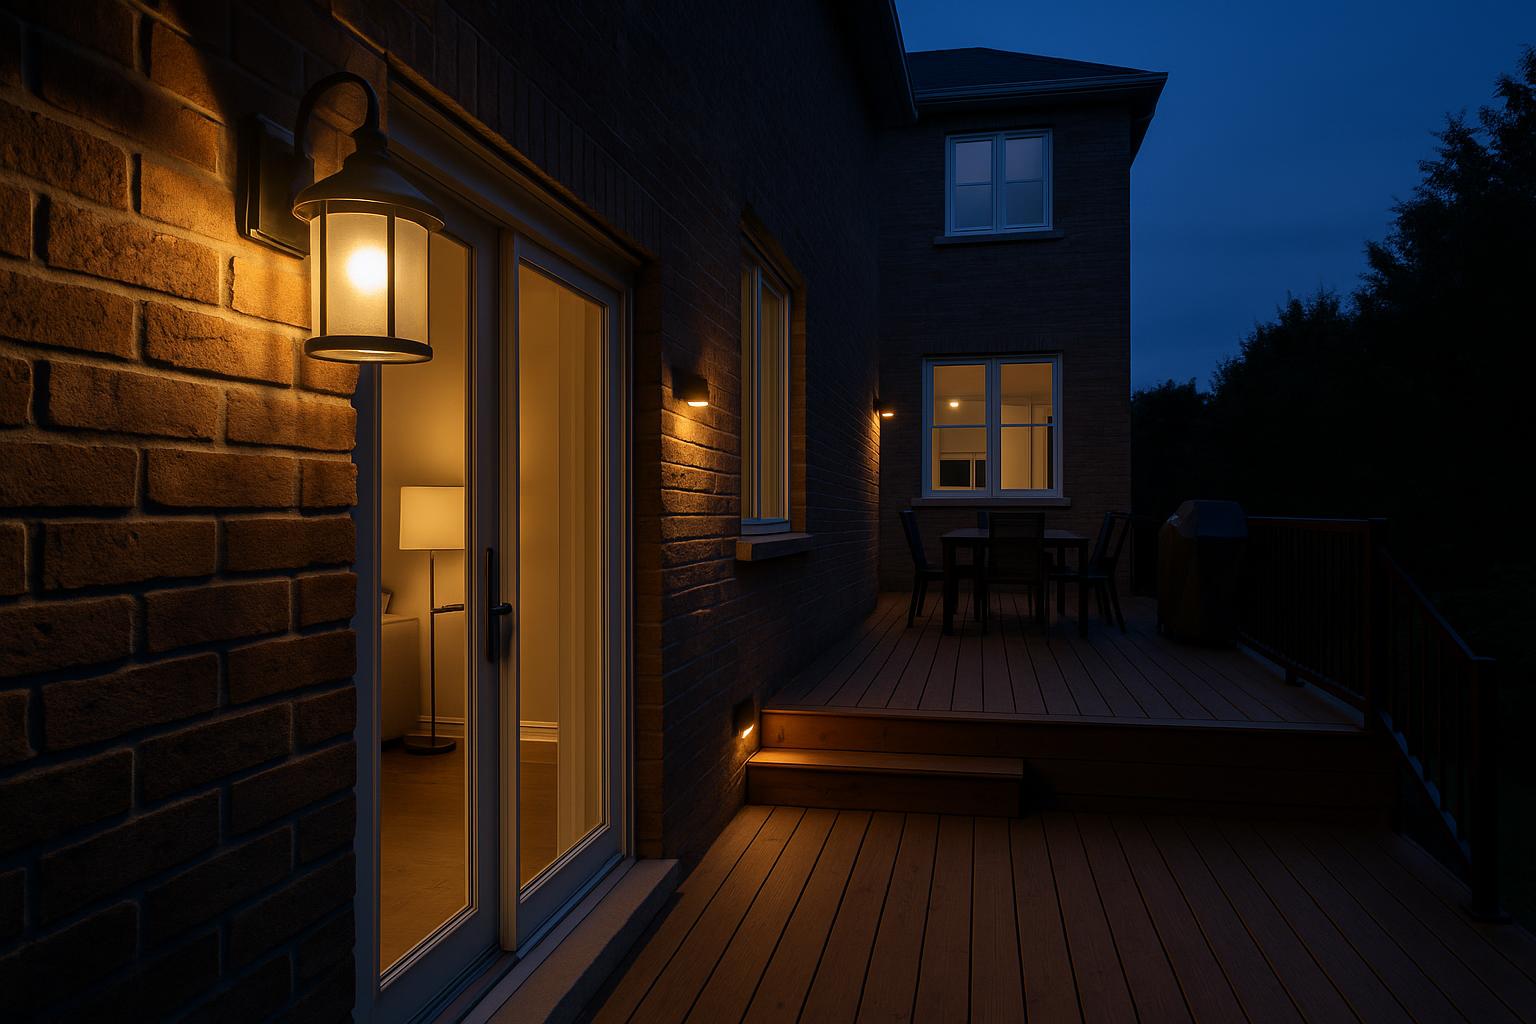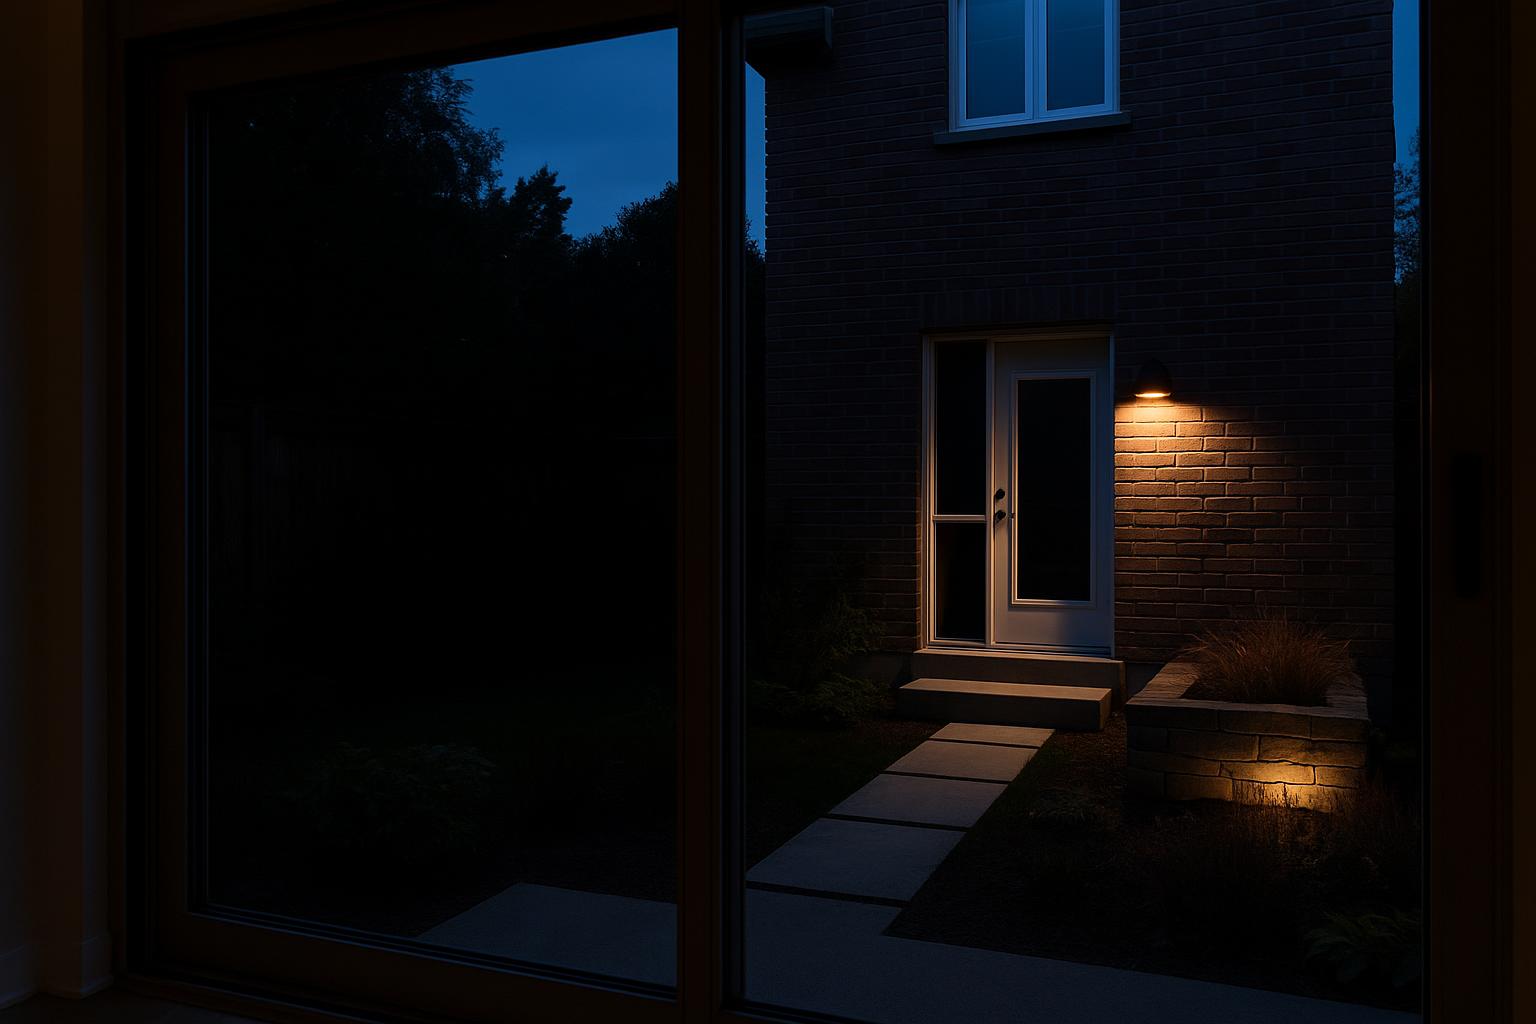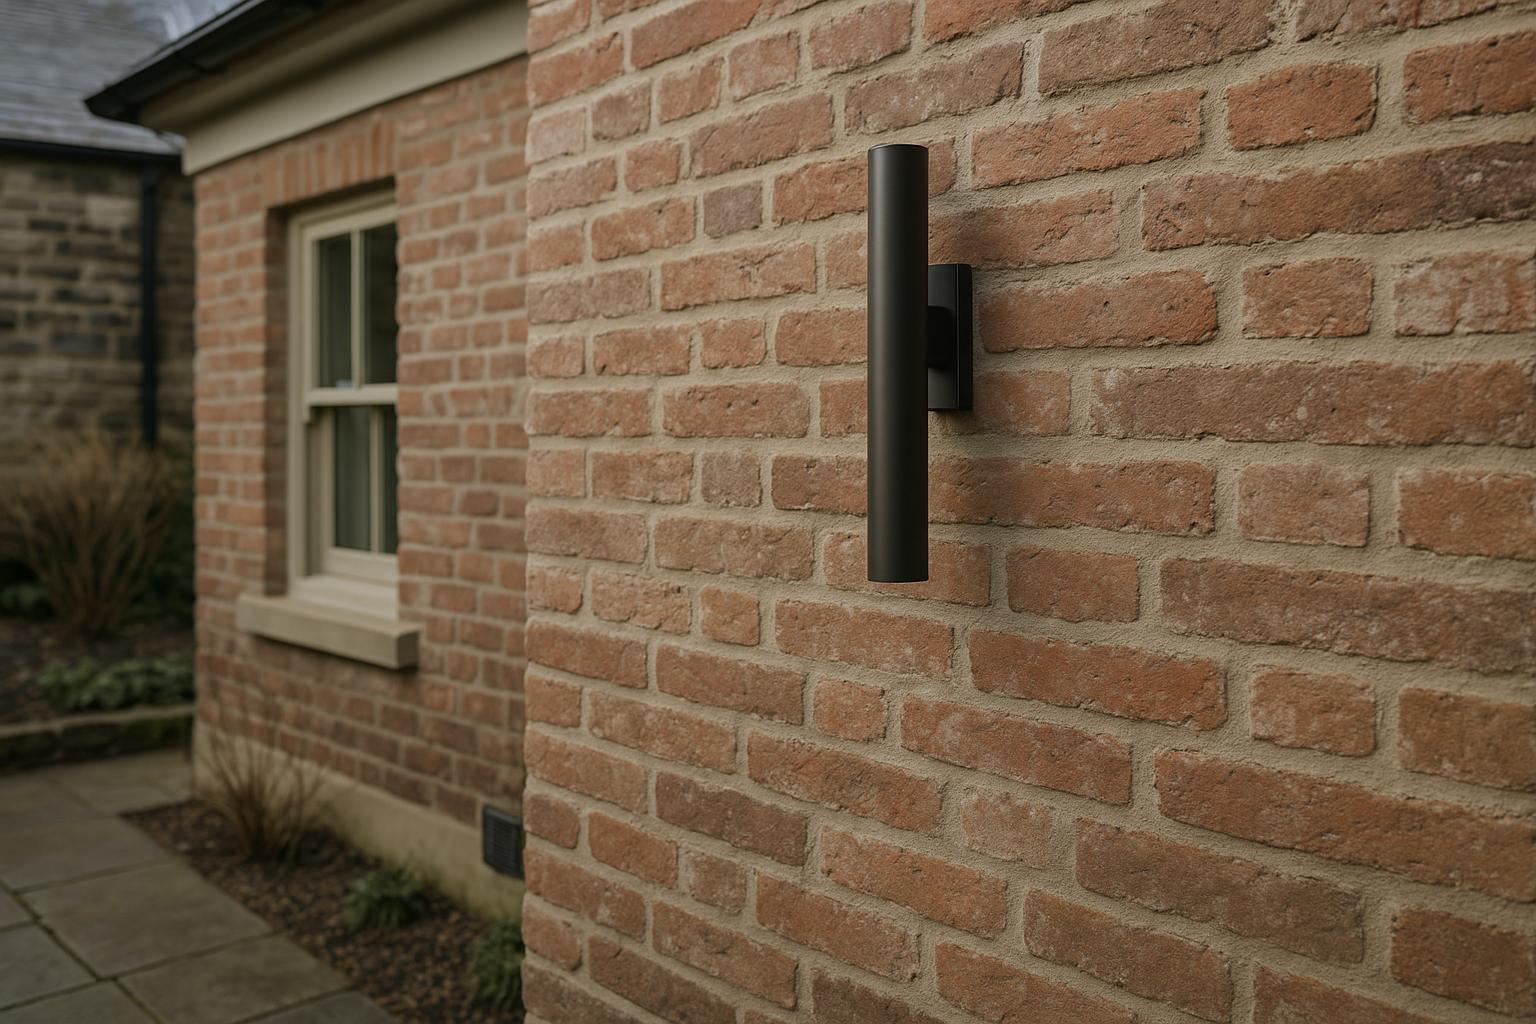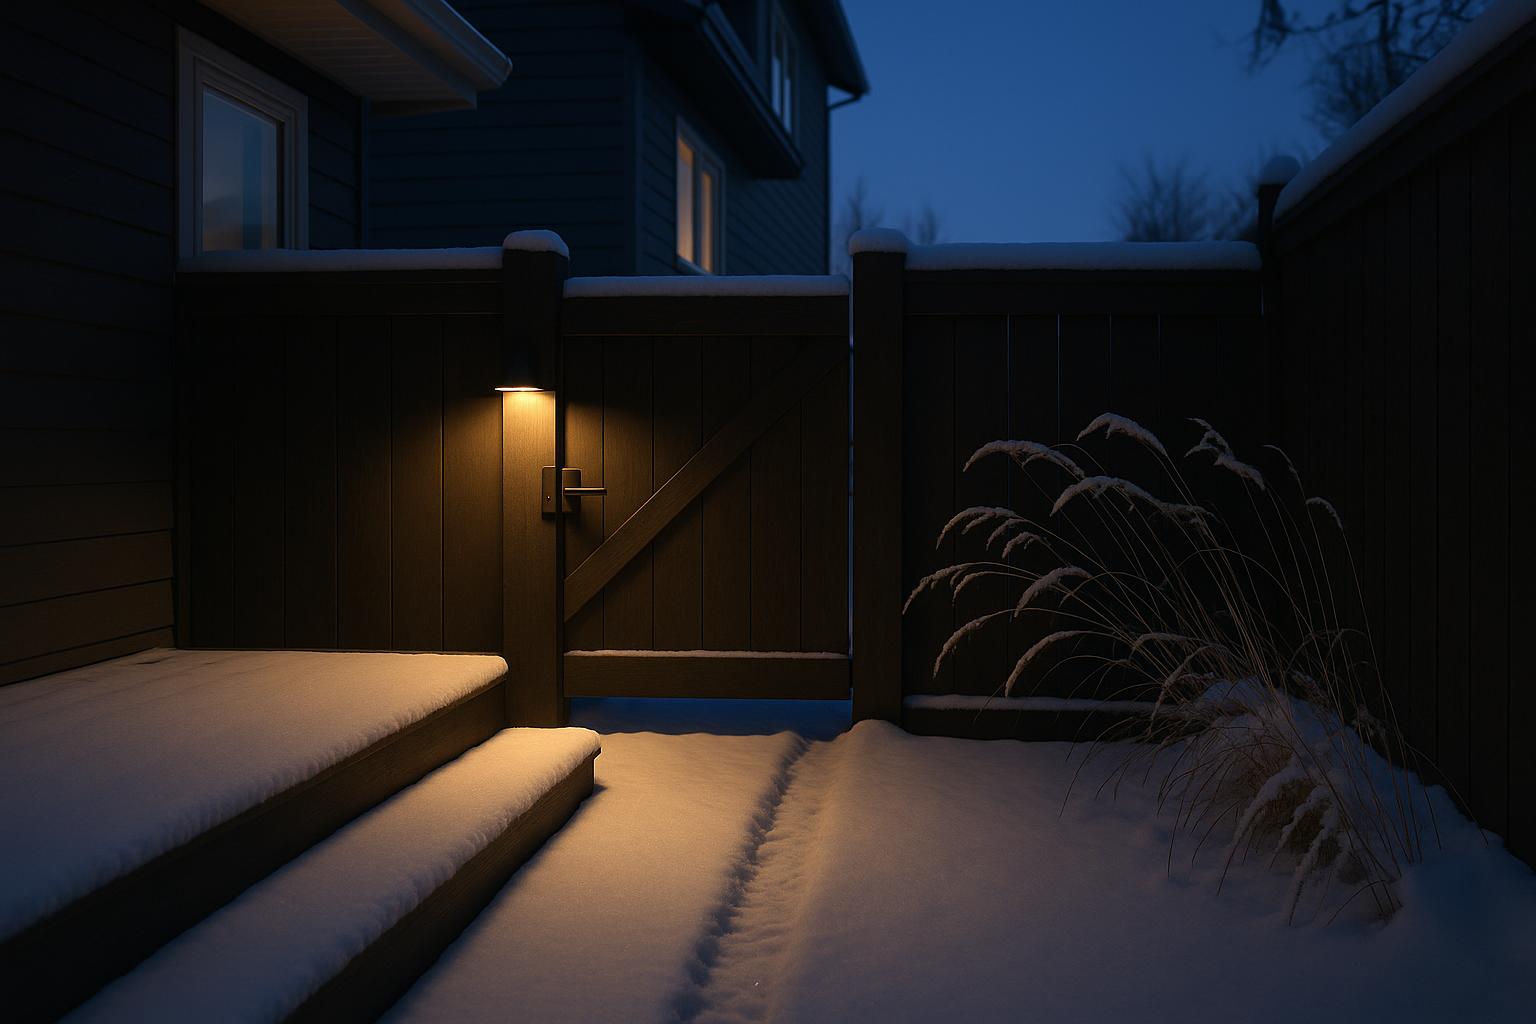
A useful garden lighting plan identifies what must remain visible, what deserves emphasis and which areas should stay...
- There are no more items in your cart
- Shipping
- Total $0.00
Where Garden Wall Lights Should Stop
garden wall lights are often chosen while exterior finishes are being selected, then distributed wherever a wall looks empty. That sequence puts the fixture before the effect. A better plan begins by deciding where light is useful, where it would be distracting and where darkness should remain intact.
This matters in compact gardens, where a bright fitting can dominate the view from a family room or spill beyond the property line. It also matters on larger lots: lighting every boundary can make the landscape appear smaller by revealing its limits. The goal is not maximum coverage. It is a clear, comfortable pattern of light with deliberate gaps.
Start with a darkness map
Sketch the house, patio, paths, gates, planting and boundary walls. Record wall lengths in metres and mark the main windows from which the garden is seen. Add doors, steps, changes in paving and any place where people pause, such as a dining table or barbecue area.

Next, circle the locations that need to be legible after dark. A back-door lock, the first tread of a step and a narrow gate may need direct support. A planting bed or textured wall may only need enough light to establish depth. Shade the areas that can remain dark, including planting between destinations and boundaries that would expose a neighbour's window if illuminated.
This drawing prevents a common mistake: treating every available mounting point as a lighting location. Darkness is not unused space. It separates visual features, reduces reflections in glazing and leaves room for the garden to recede beyond the patio.
Give each wall zone one job
A wall light works best when its purpose can be stated plainly. Divide the plan into zones rather than trying to make one row of fixtures perform every task.
- Arrival zones include doors, latches and house numbers. The light should make the hardware easy to find without placing a bare source at eye level.
- Movement zones include paths, steps and changes of surface. Shielded downward light is often easier to control than a broadly glowing lantern.
- Room-edge zones sit beside dining or lounge furniture. patio wall lights here should support faces and tabletops without shining directly behind a seated person.
- Backdrop zones use brick, stone, stucco or wood to create depth. These are visual effects, so they can usually be controlled separately and switched off when the garden is no longer occupied.
A decorative up-and-down pattern may suit a tall, uninterrupted wall, but it should not automatically be expected to clarify nearby paving. Conversely, a practical downlight at a gate does not need to become an architectural feature. Giving each zone one main job makes fixture comparison much simpler.
Judge the surface in daylight
The wall changes both the light and the daytime appearance of the fitting. A narrow beam grazing rough brick or split stone produces pronounced highlights and shadows. The same approach can draw attention to patched mortar, uneven siding or a conduit that was barely noticeable before.
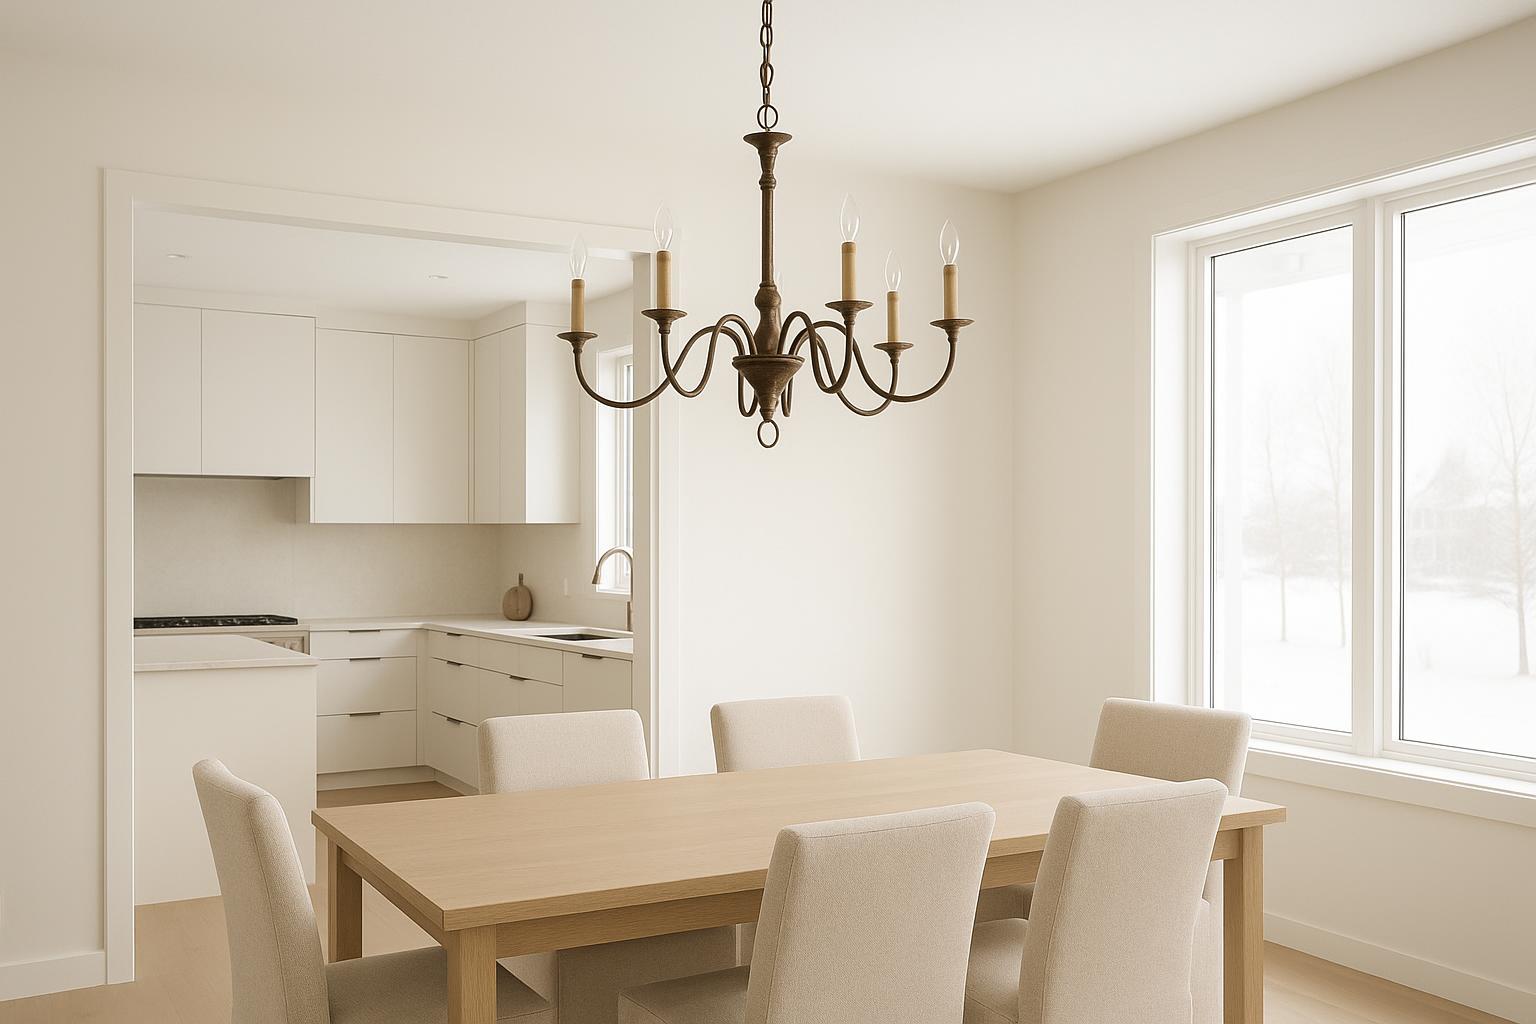
To complement this topic, you can also read The Room Does Not Have to Match the Chandelier.
Smooth pale stucco reflects light readily, so a modest output may have more presence than expected. Dark-stained cedar absorbs more light and can leave the fixture itself looking brighter than its surroundings. Glossy finishes, metal flashing and wet surfaces can also create small points of glare from particular viewing angles.
Inspect the mounting area before selecting a beam. If the wall is worth revealing, use its texture intentionally. If it contains repairs, vents or utility equipment, direct the light towards the path or planting instead. During the day, a finish close to the wall colour will generally recede, while a contrasting exterior wall light becomes part of the architecture.
Check the beam from real viewpoints
A product photograph cannot show how a fixture will behave from a dining chair, an upstairs bedroom or the adjoining property. For each proposed location, note the direction in which people will look. The source should remain screened where it falls within a normal seated or standing sightline.

Views through glass need particular care. A bright fixture close to a patio door can reflect back into the room and hide the garden beyond. Moving the fitting to a side wall, reducing its output or choosing a more deeply shielded design can preserve the outward view. Check upper-storey windows as well; a beam contained at ground level may be conspicuous when seen from above.
Mounting height should follow the beam, the task and the wall construction rather than an arbitrary line carried across every door and window. Before repeating a fitting along a boundary, review its light distribution and, where practical, test one installed example after dark. Look at the result while standing, sitting and viewing from indoors.
Test the scheme for winter brightness
Fresh snow can turn the ground into a bright secondary surface, sending light back towards walls, soffits and windows. A restrained summer scheme may therefore feel much more intense in January. Pale concrete, light gravel and painted fences can produce a similar effect without snow.
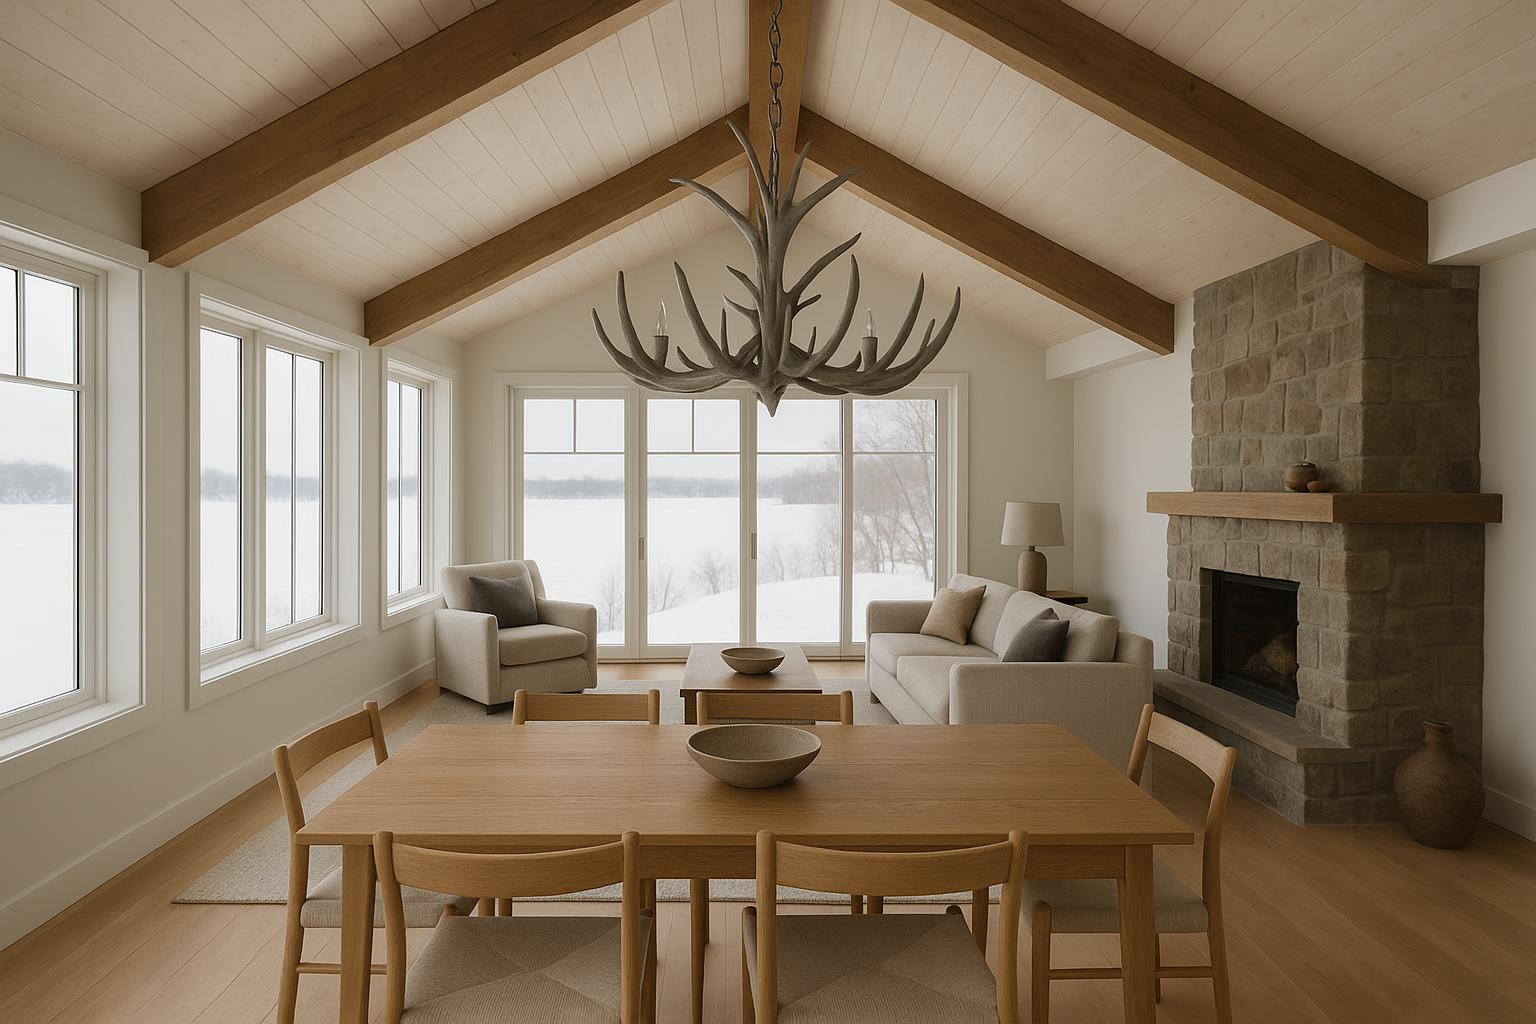
In the same direction, Let the Cottage Lead: A More Restrained Antler Pendant offers useful ideas for choosing home lighting more confidently.
Allow for this by prioritizing shielding and controllable output rather than adding extra fixtures for long winter evenings. If dimming is planned, confirm that the fixture, lamp or integrated light source and control are compatible. Keep the light colour reasonably consistent among fixtures seen together; abrupt changes can make a small garden look fragmented.
Seasonal planting also changes the result. Dense summer leaves may conceal a beam that becomes fully exposed after leaf fall, while ornamental grasses can bend under snow and leave a fixture unobstructed. Review the plan as a winter garden, not only as it appears when planting is full.
Make installation and controls part of the design
An outdoor location is not defined simply by being outside. A fixture beneath a deep overhang faces different exposure from one on an open boundary wall. Select a product explicitly suitable for the intended location and follow its installation instructions.
Brick, poured concrete, stone veneer, siding and wood structures require different mounting details. The wiring route, junction box, drainage and integrity of the exterior finish should be resolved before holes are made. Shared fences and boundary structures may introduce additional practical or ownership questions. A qualified electrician can assess the site and applicable provincial and local requirements.
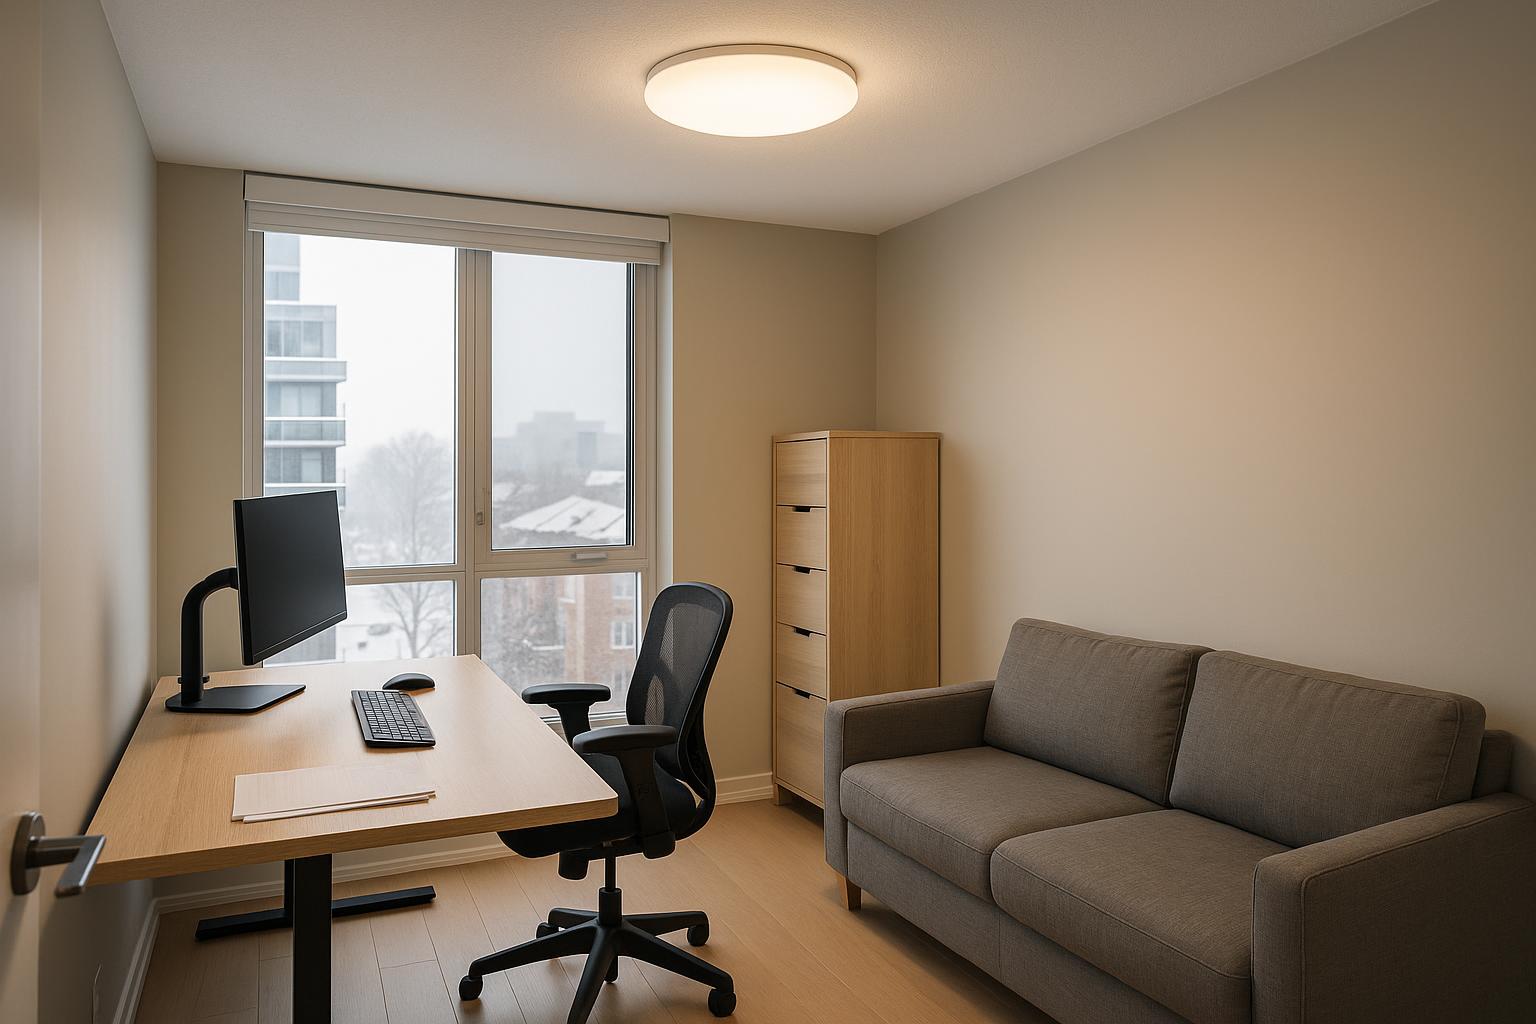
For more consistent lighting throughout the home, the article Put the Desk in Charge of the Ceiling Light may also be helpful.
Controls should reflect how each zone is used. A manual switch may suit occasional patio lighting, while a timer or appropriate sensor can serve a regular arrival route. Separate controls for practical and decorative landscape lighting prevent a textured wall from remaining illuminated simply because the back door still needs light. Sensors also need to be positioned and adjusted so that movement outside the intended area does not trigger them unnecessarily.
Leave room for maintenance. Glazing needs cleaning, openings collect debris and nearby planting will grow. Fixtures mounted where drifting snow, irrigation spray or climbing plants repeatedly reach them deserve extra attention during planning.
Edit the plan before ordering
Prepare a short schedule listing each location, its job, wall material, beam direction, main viewpoint and control. Remove any fitting that duplicates another or illuminates a surface with no clear reason. The remaining pauses are what give the scheme depth.

When you are ready to compare garden wall lights, use that schedule to filter by light direction, shielding, outdoor suitability and visual scale rather than choosing by shape alone. Order for the plan you have edited, not for every empty section of wall.
A successful garden remains partly concealed after sunset. Doors and changes of level are readable, selected materials have presence, and neither indoor views nor neighbouring homes are overwhelmed. The point at which the lighting stops is part of the design.